
I received this complimentary product from the Homeschool Review Crew.
Being part of the Homeschool Review Crew, my daughter and I have had the opportunity to use the Printable “Essential Timeline Library” from Home School in the Woods.
Who is Home School in the Woods?
Amy Pak is the owner of Home School in the Woods (HitW). She started the family business in 2002 when she was homeschooling her own four children and realized the need for quality hands-on history figures.
The business has continued to grow as more homeschooling families have used and requested more figures to go along with the different topics of study that their kids are doing while homeschooling.
HitW has now been kind enough to combine some of their products to create a gigantic bundle of figures so that you can create your own timeline library for any subject or topic that you study.

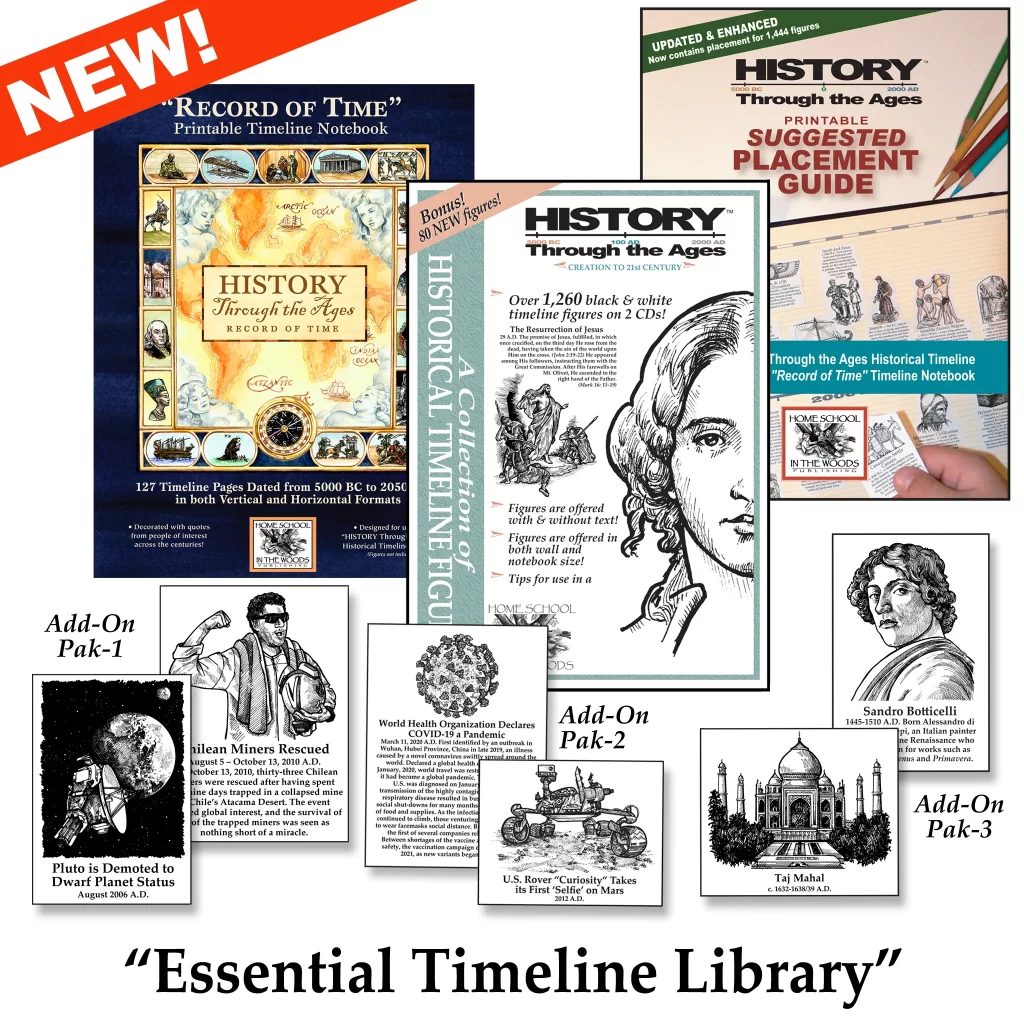
What is Included in the Essential Timeline Library from Home School in the Woods?
A lot! Here is the basic list, and I’ll go into more detail further down below.
- History Through the Ages Collection of Historical Timeline Figures
- Add-on Pak 1
- Add-on Pak 2
- Add-on Pak 3
- “Record of Time” Printable Timeline Notebook
- Printable Suggested Placement Guide
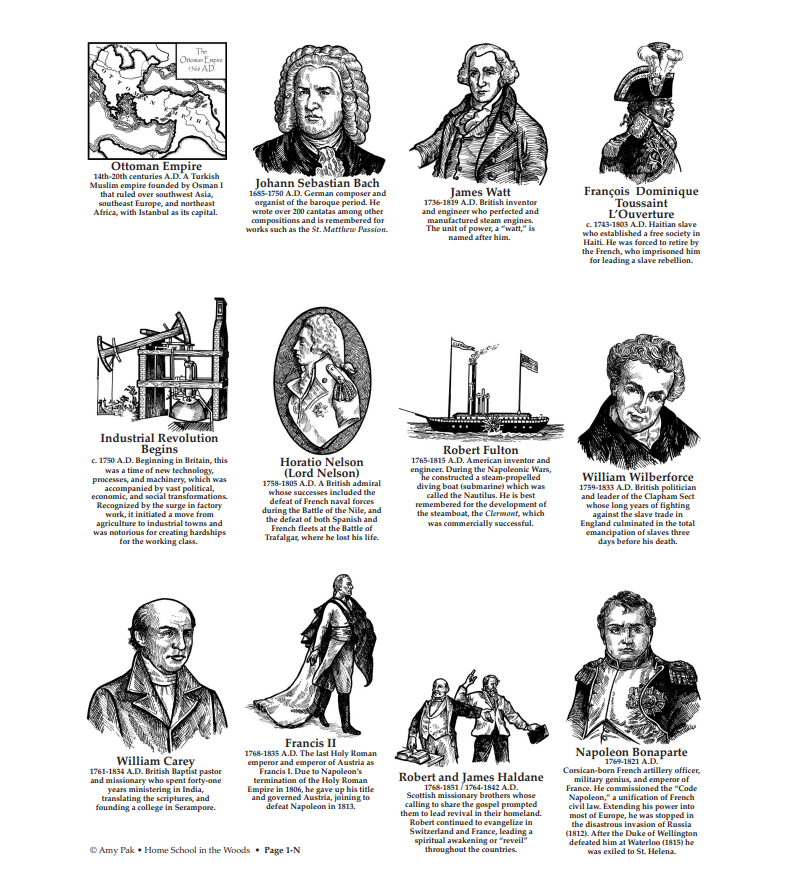
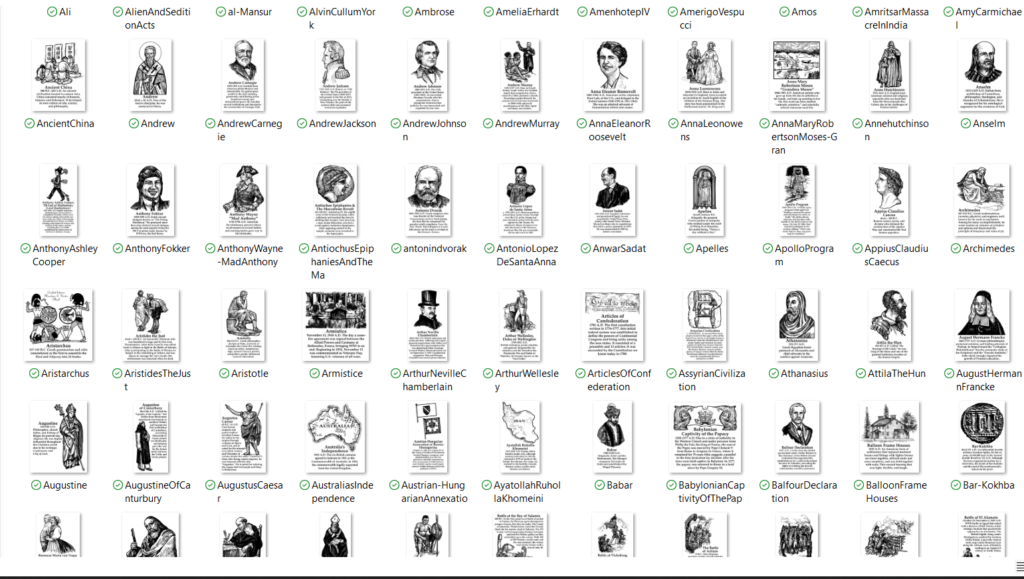
What is in the History Through the Ages Collection of Historical Timeline Figures?
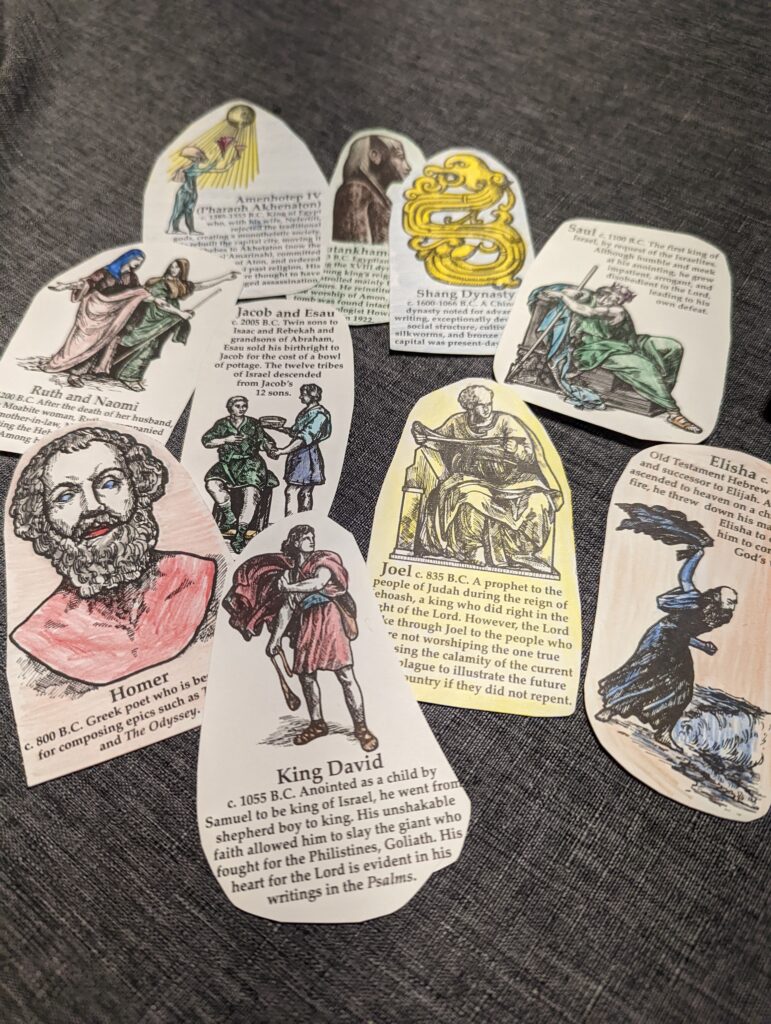
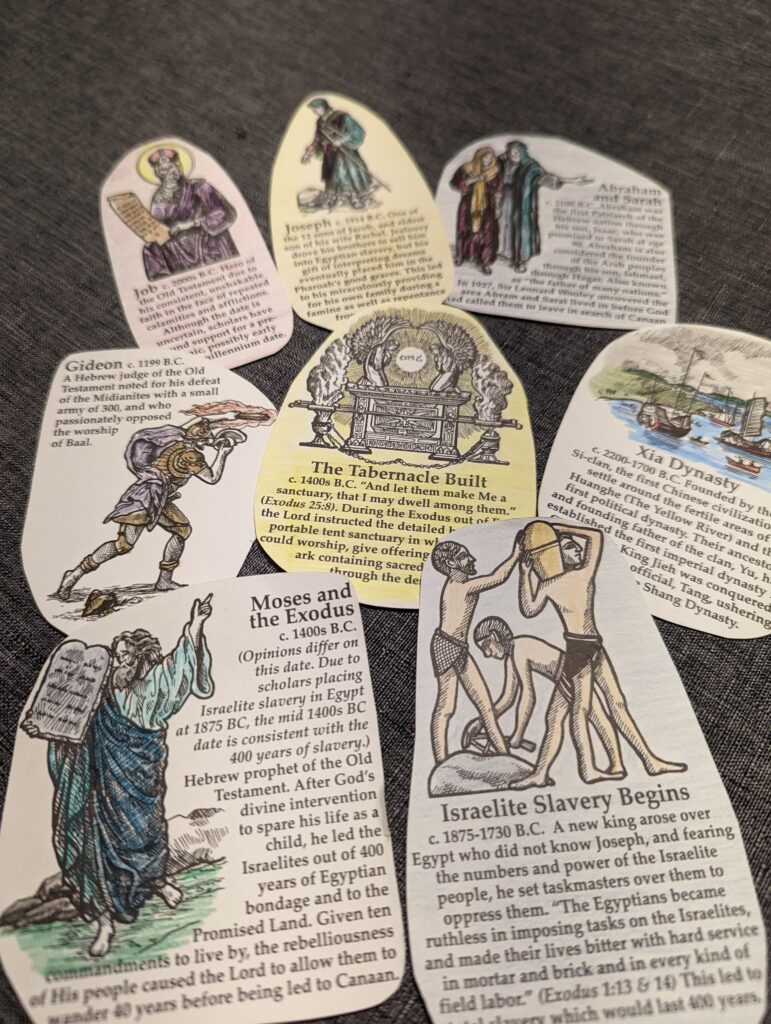
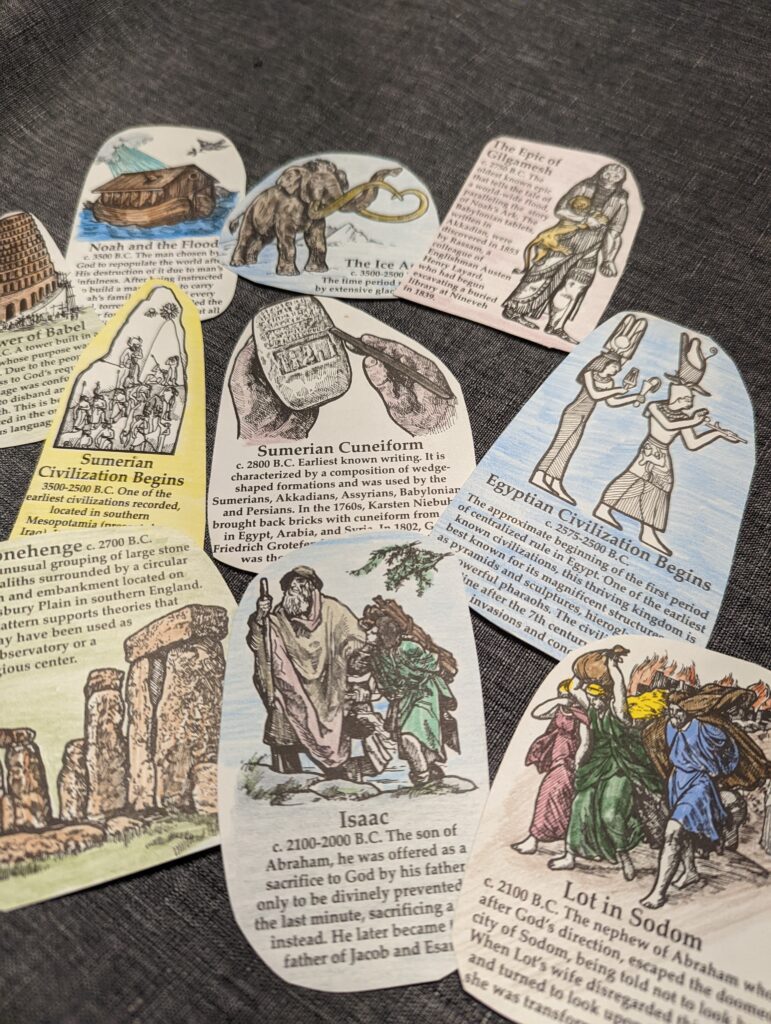
This part of the bundle contains 1,263 different timeline figures covering topics such as:
- Creation to Christ
- Sumerian Cuneiform
- Gideon
- King Josiah
- Herodotus
- Xerxes I
- Second Triumvirate
- Resurrection to Revolution
- Polycarp
- City of Pompeii
- Erik the Red
- The Spanish Armada
- Napoleon to Now
- Johann Sebastian Bach
- Battle of Trafalgar
- Revolt in Latin America
- Alexander Graham Bell
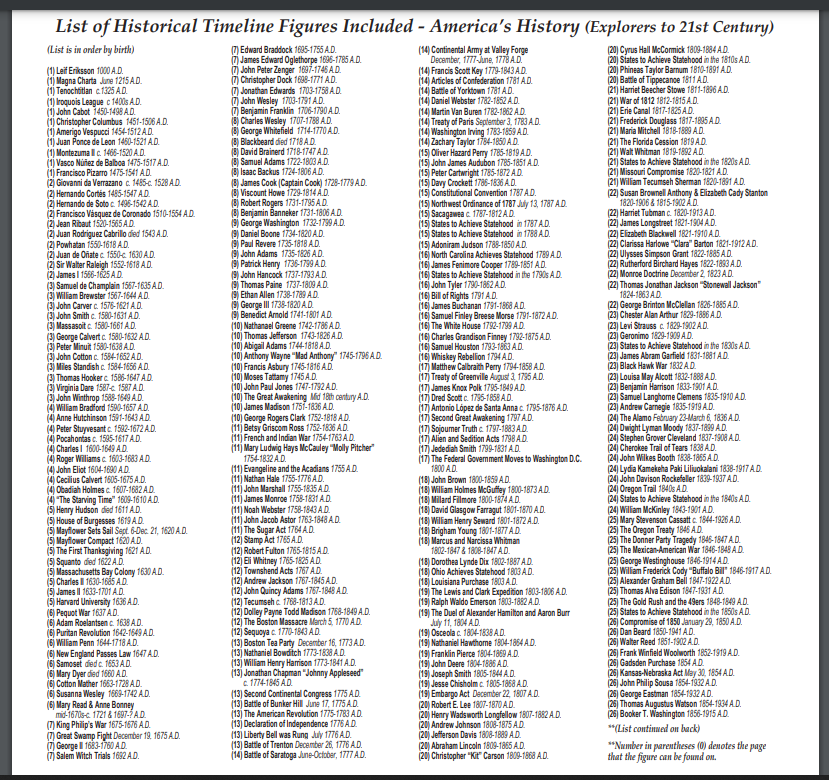
- America’s History
- Pocahontas
- William Bradford
- Thomas Jefferson
- Boston Tea Party
- Treaty of Paris
- Harriet Tubman
- The Battle at Gettysburg
- The Moon Rover
- 80 Bonus Figures
- Ancient China
- William Tell
- Wars of the Roses
- Irish Potato Famine
- Clipper Ships
What is in the Add-On Paks?
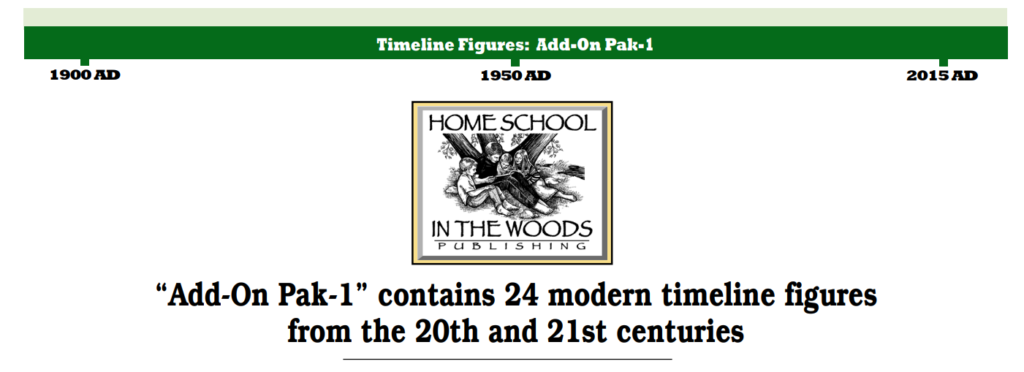
- Margaret Thatcher
- Hurrican Katrina
- Diana, Princess of Wales
- First Text Message
- Race to the South Pole
- Ivan the Great
- Taj Mahal
- Typhoid Mary
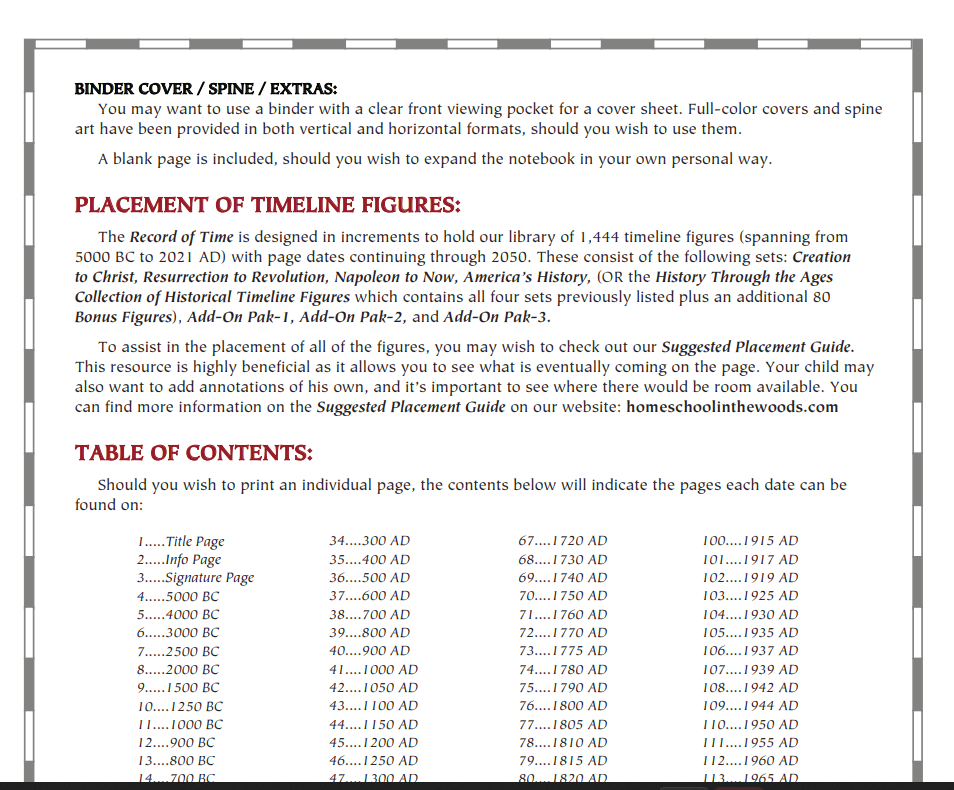
What is the “Record of Time” Printable Timeline Notebook?

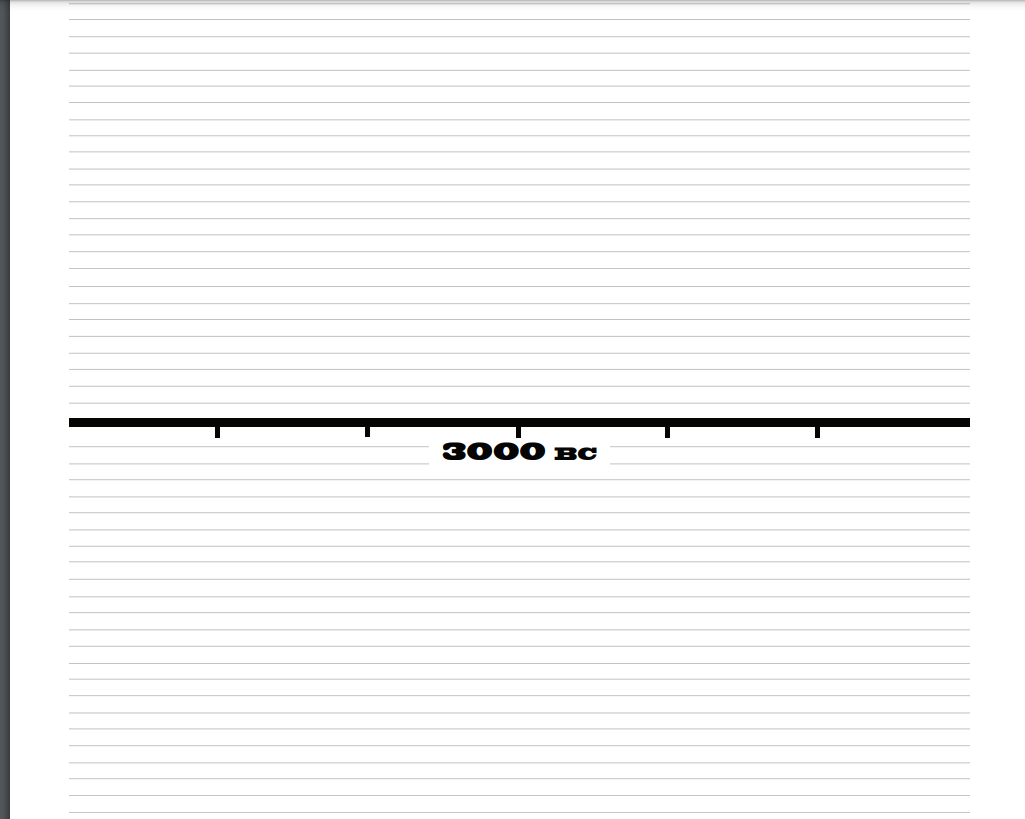
Home School in the Woods has provided their printable dated timeline sheets in vertical and horizontal formats. These sheets can be printed and easily hole-punched and placed in your favorite three-ring binder to keep your timeline nice and tidy.
These sheets are dated from 5,000 BC to 2050 AD. There are 130 pages and they are black and white. The included cover page is printable too, if your child would like to color it and place it in the front of their timeline notebook.
Don’t let the number of pages and figures overwhelm you. You can pick, choose, and then print only the dates and figures that you are planning on working with.
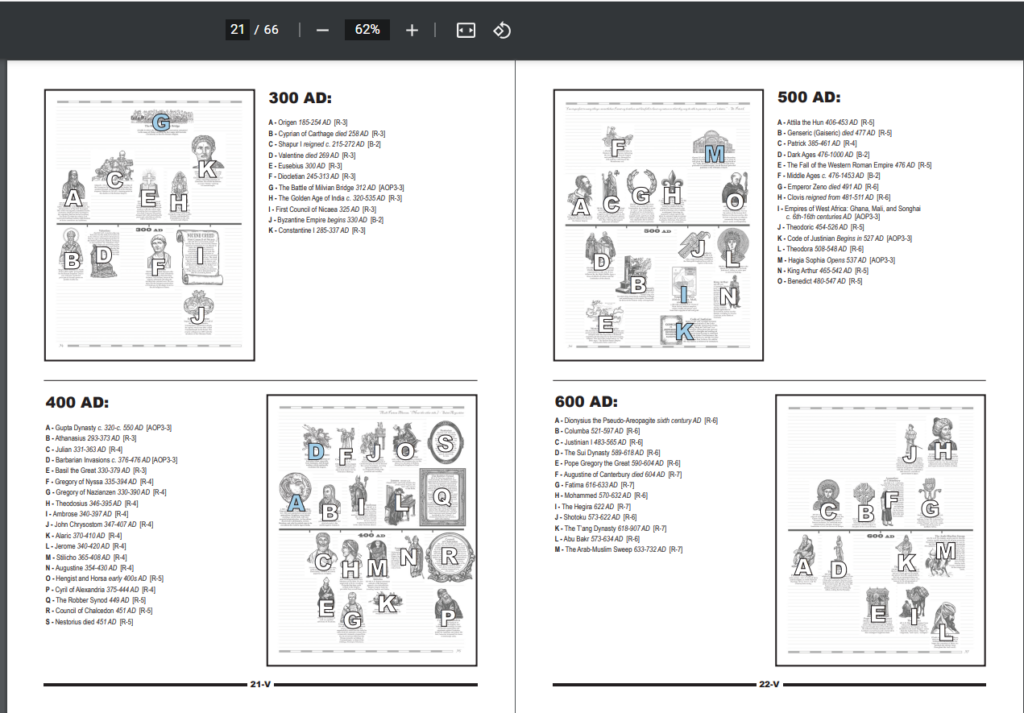
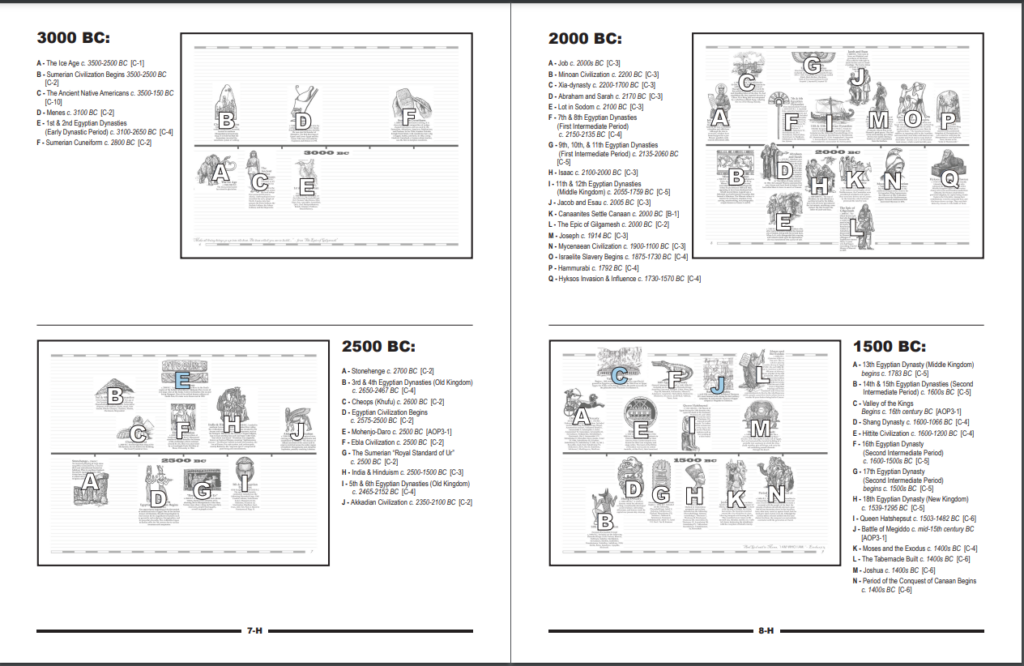
What is the Suggested Placement Guide?
With all of these figures, it can be a little bit daunting when it comes to placing your figures on the timeline.
The suggested placement guide is just that. It shows you pictures of each dated timeline page and shows you where to put each figure so that everything fits nice and snug.
How We Used Home School in the Woods Figures
When my kids were in elementary and middle school grades, I bought the Creation to Christ set of timeline figures.
I loved using them as it gave us some hands-on activities to do while we were studying the Old Testament Bible stories.
At that time, I made a family timeline out of cardboard that folded up accordion style. I made four of them and they each unfolded to cover the length of our twelve-person conference table.
We used those cardboard timelines for years, adding everything to them from Bible events, science inventions, musicians, U.S. states, and U.S. presidents.
I should have taken a picture of the timelines, but I never dreamed I’d be writing a review of the figures six years later.
As my oldest kids have graduated, I’ve been downsizing. Which means – get rid of stuff. I threw away those cardboard timelines, but I did remove the figures first! Yay for me!
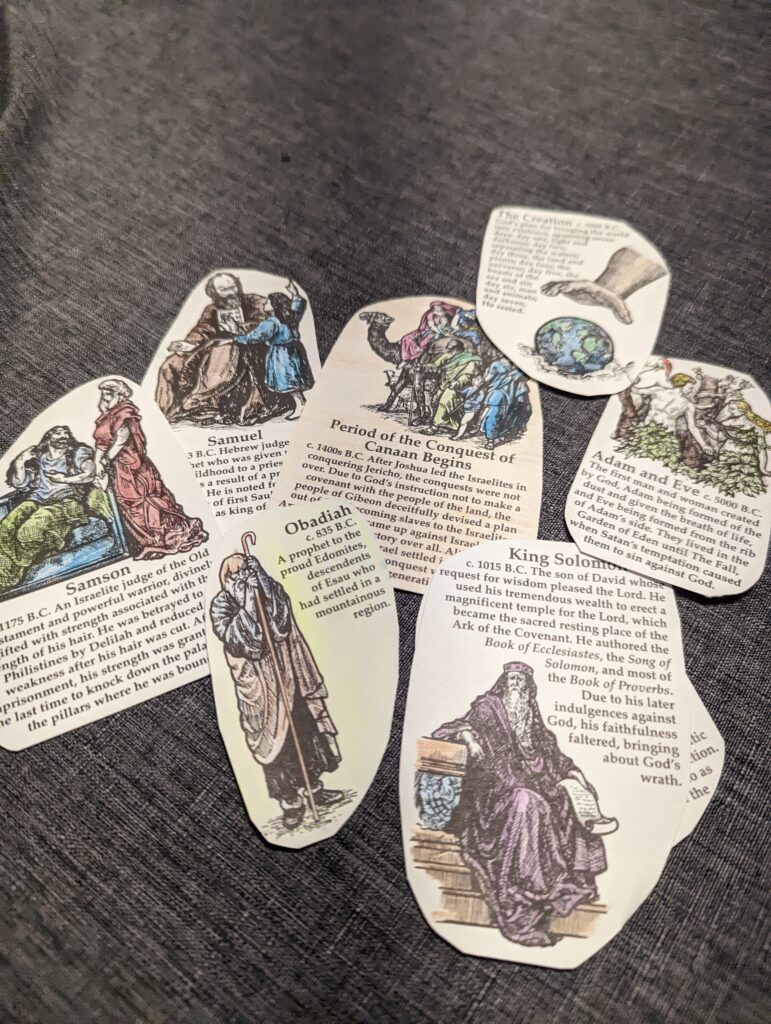
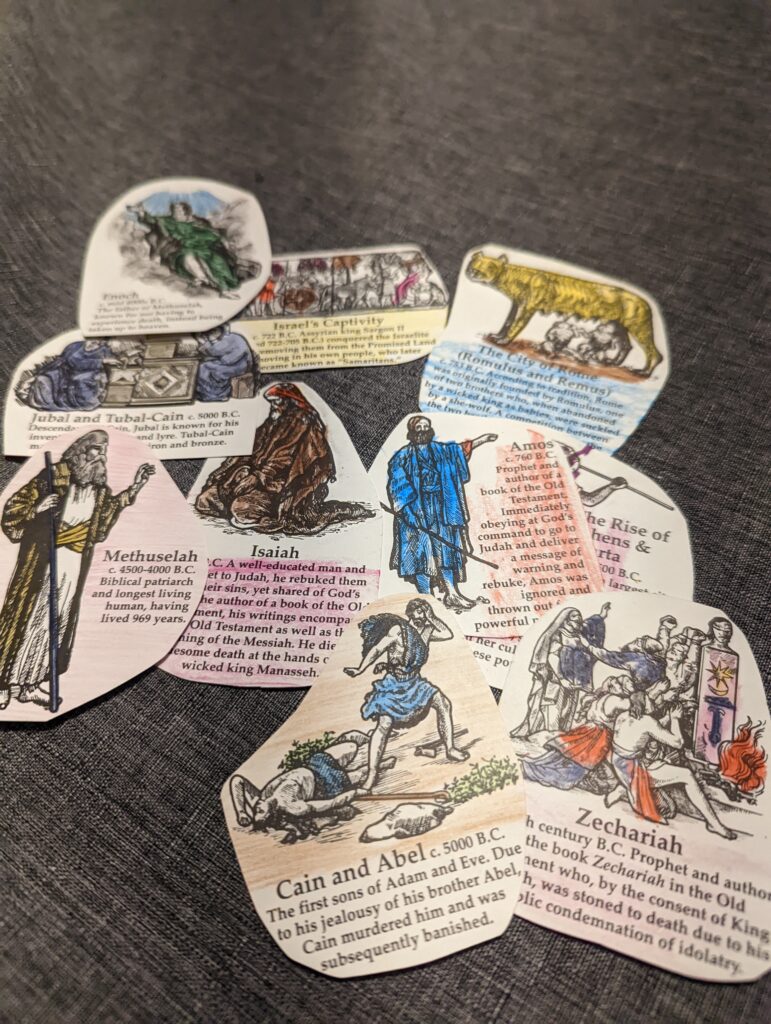
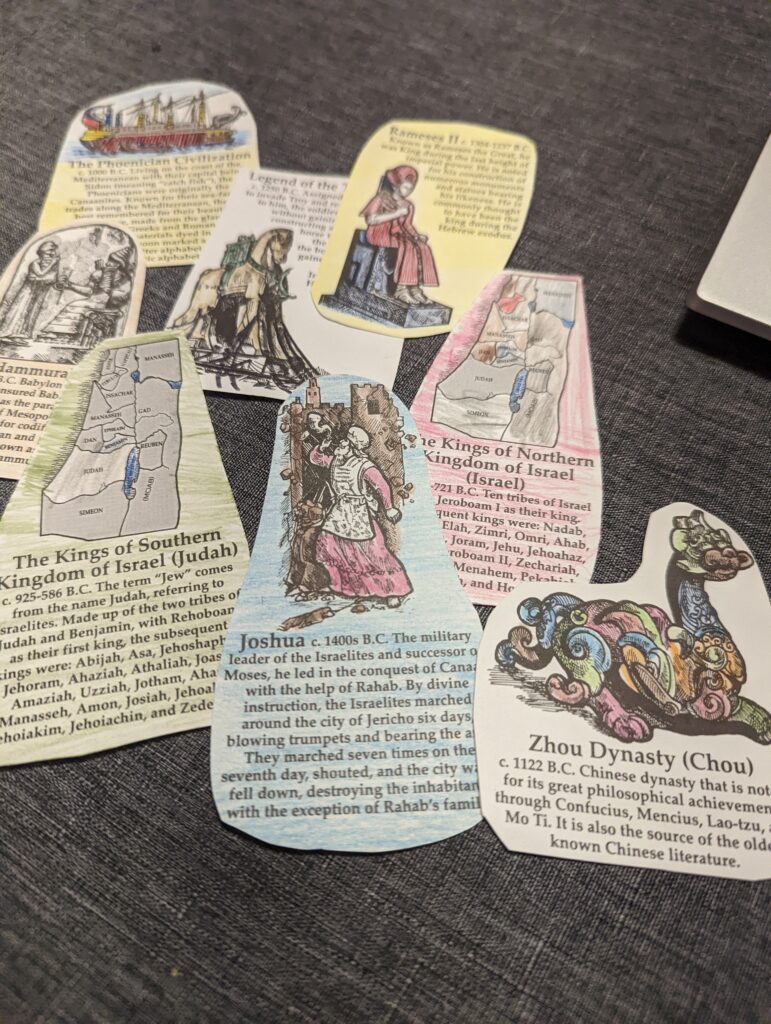
Here’s some pictures of figures that my kids colored when they were young.
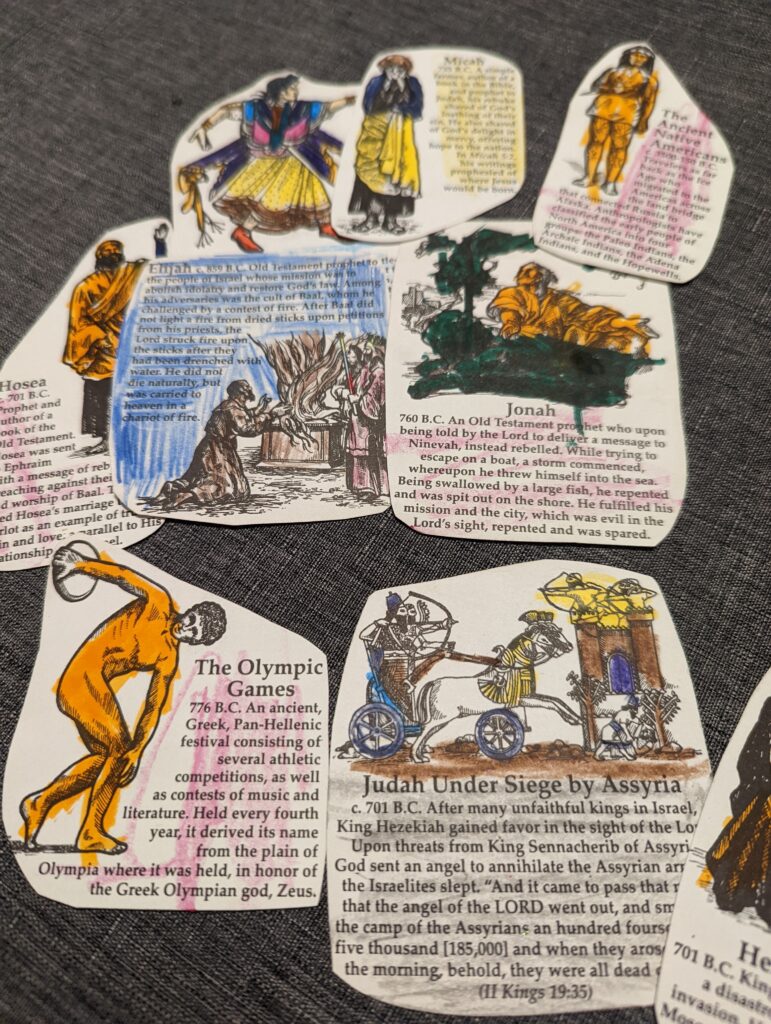
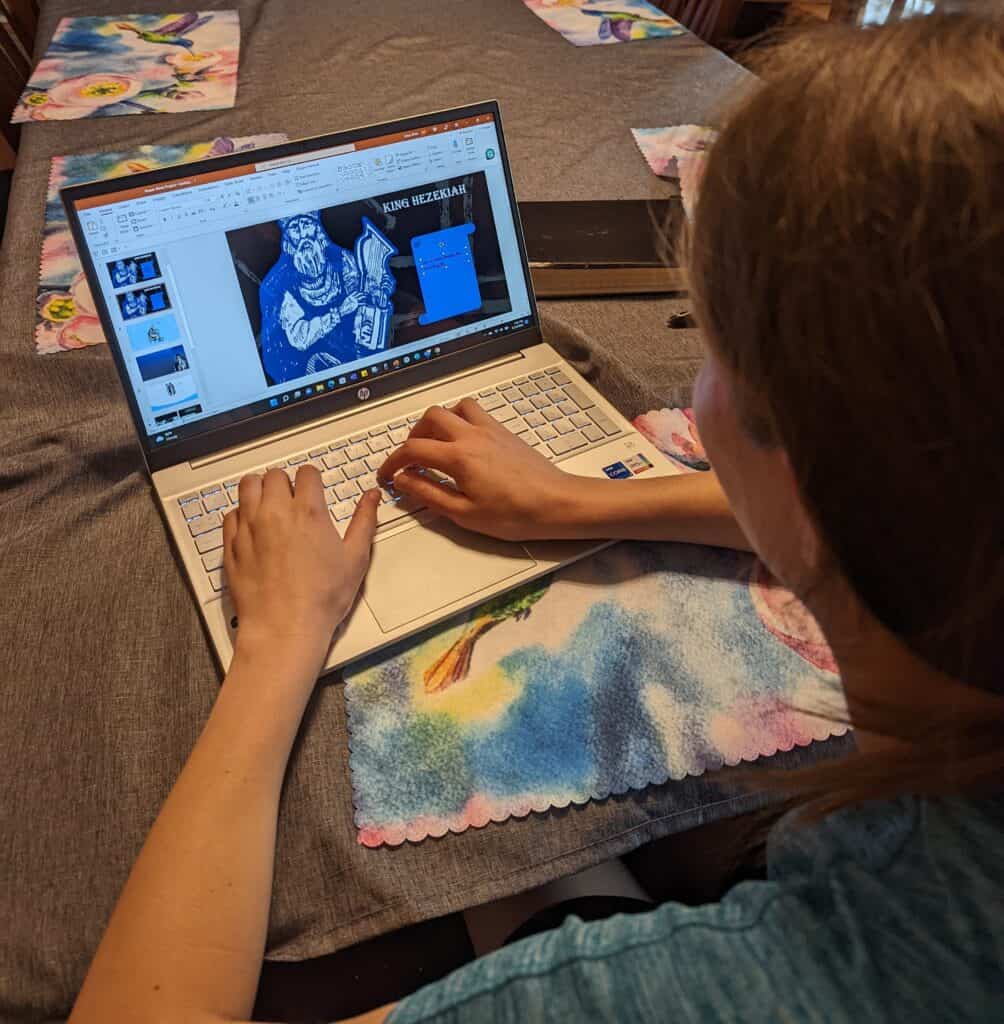
For this review though, I wanted Abby to think of a creative way to use the figures in a different kind of project.
She and I together came up with the idea to make a PowerPoint presentation for her Bible class that she did this past year. Abby enjoys doing projects on the computer, so this was fun for her. Plus, it gives her the chance to learn and practice different computer skills.
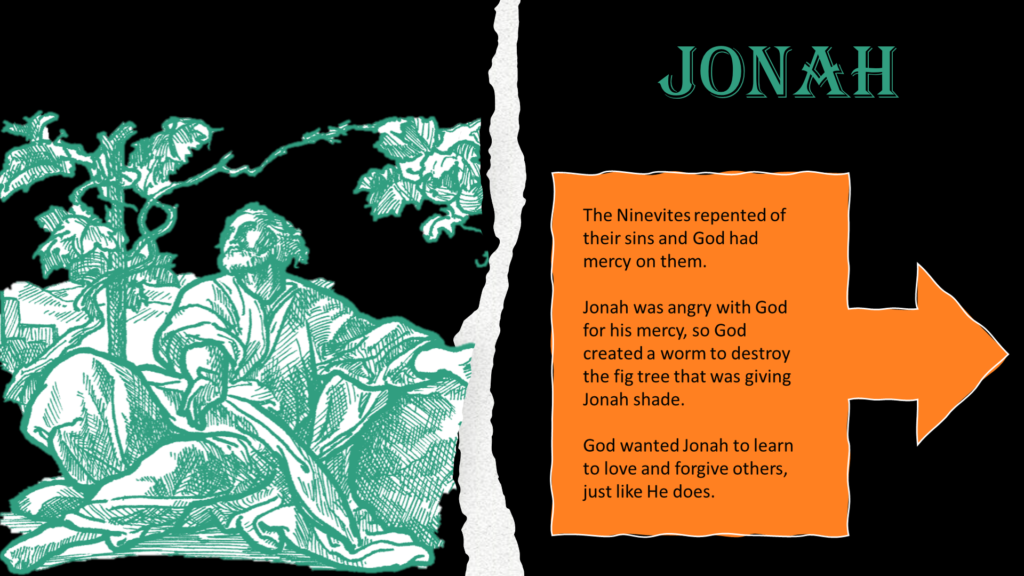
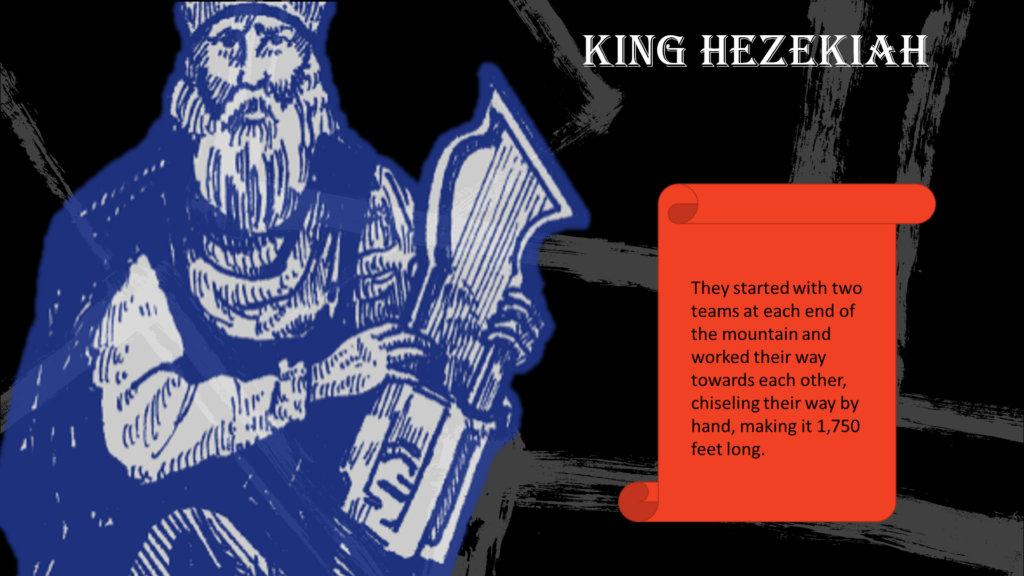
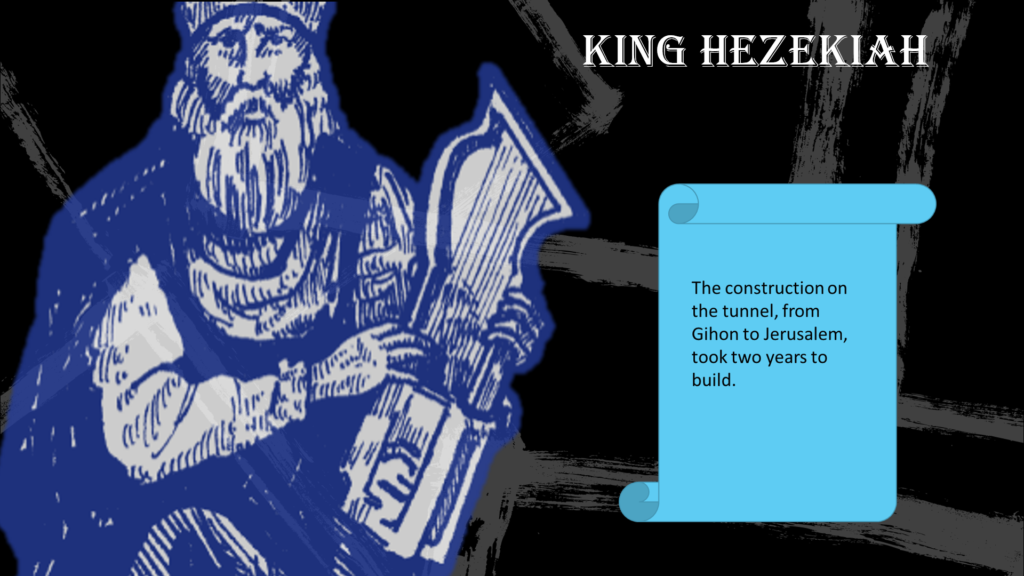
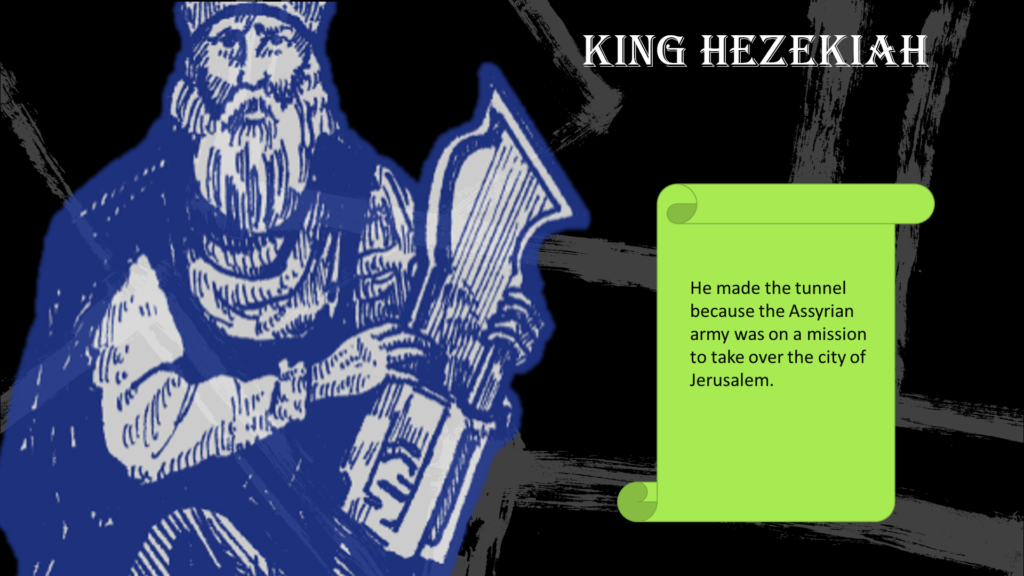
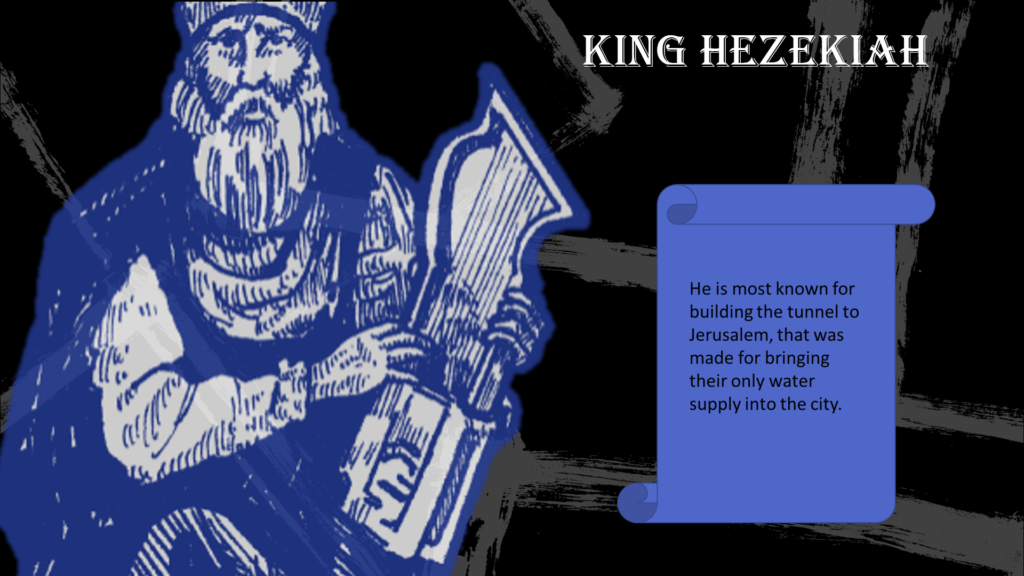
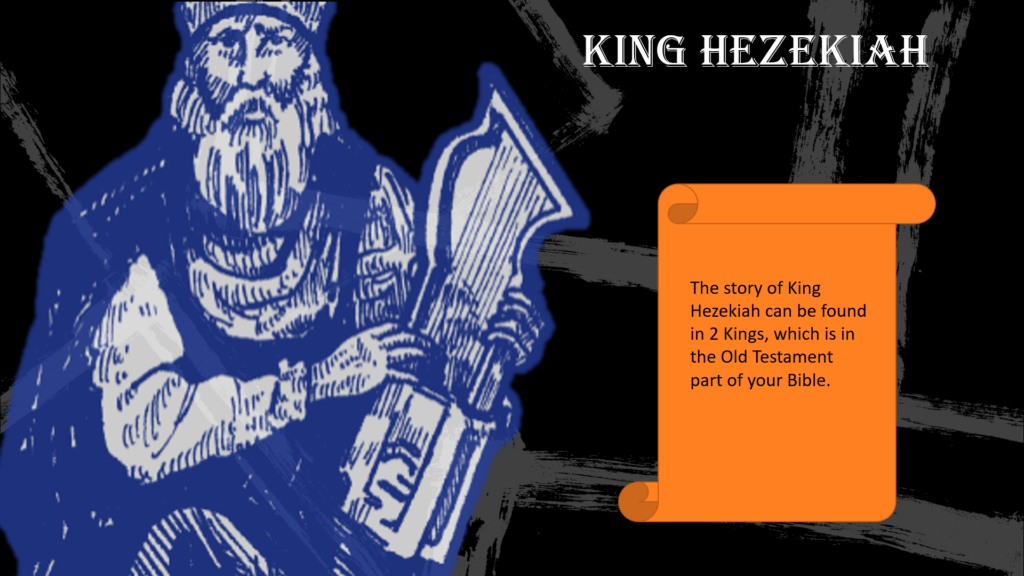
Abby chose three units from her Bible class: Ruth, Jonah, and King Hezekiah.
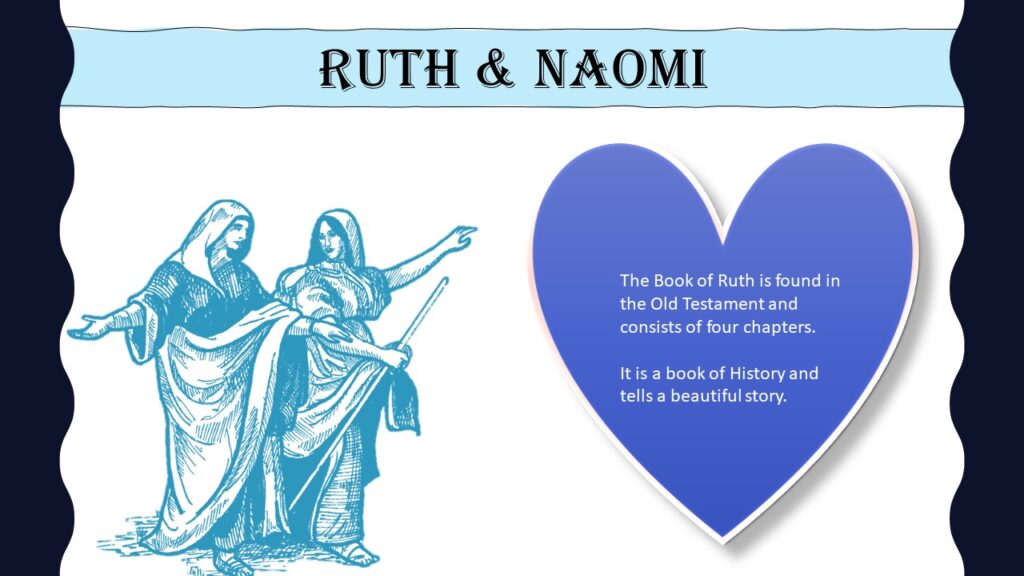
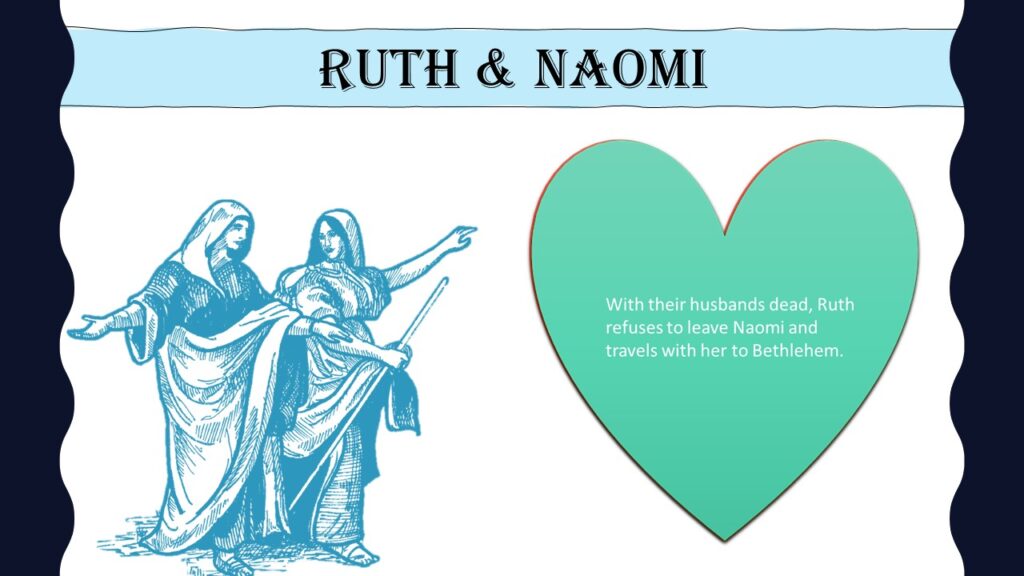
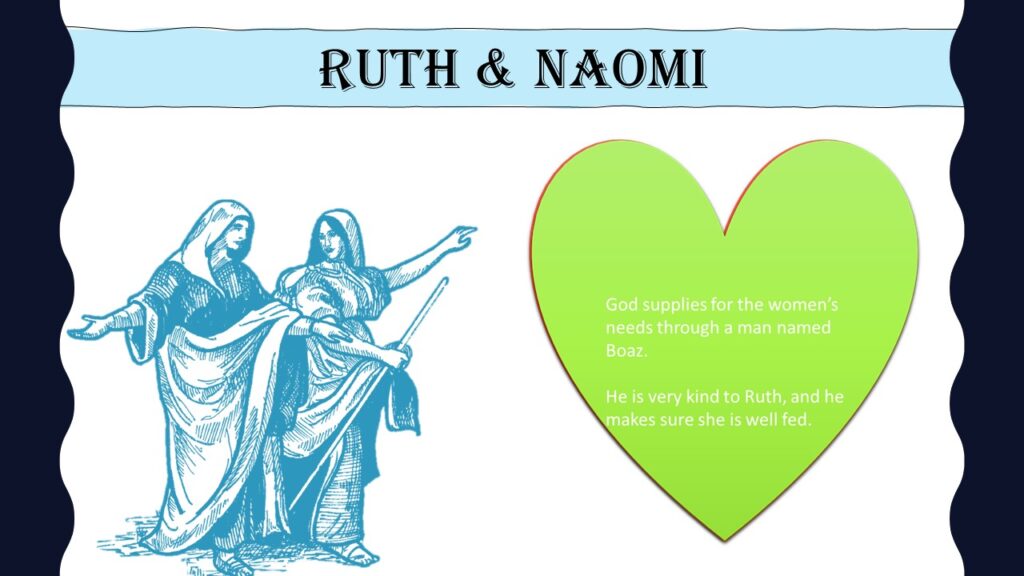
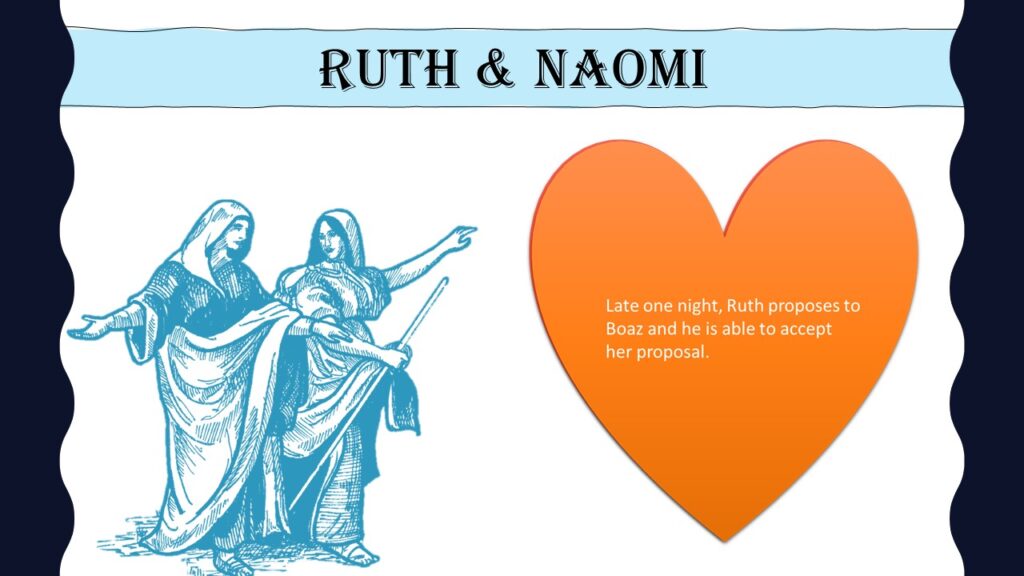
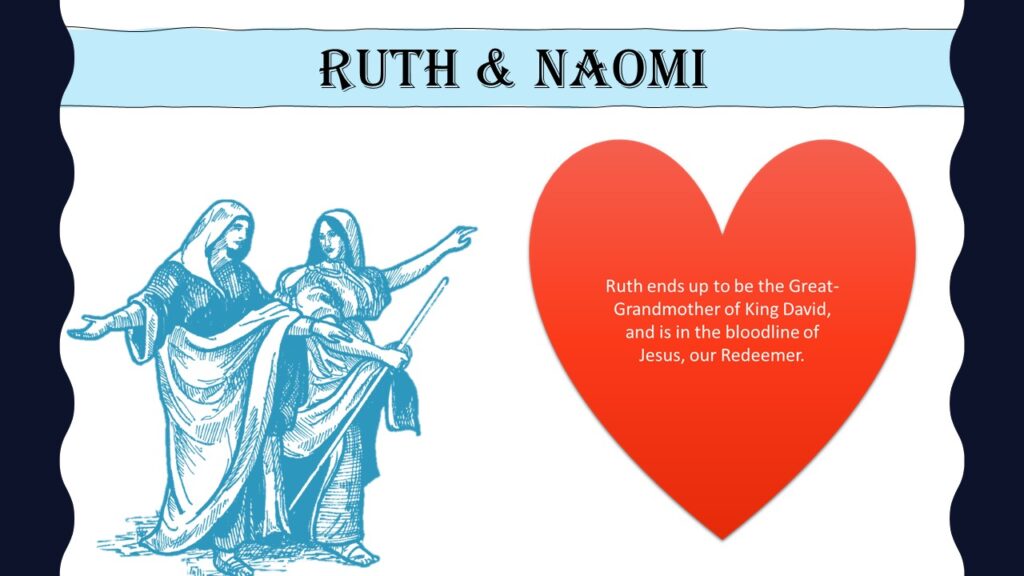
She used the Ruth and Naomi figure from the Printable Essential Library and inserted it onto a PowerPoint slide. She was able to change the color of the figures to her liking. She added the extra slide elements of the scalloped edge, the banner with Ruth and Naomi’s name in it, and each of the colored hearts.
Each heart contains a section of what Abby learned from this unit of her Bible class.
In the PowerPoint though, Abby made each of the colored hearts lay on top of each other on one slide, and then added animations to each heart to make it look like a heart-shaped book was flipping.
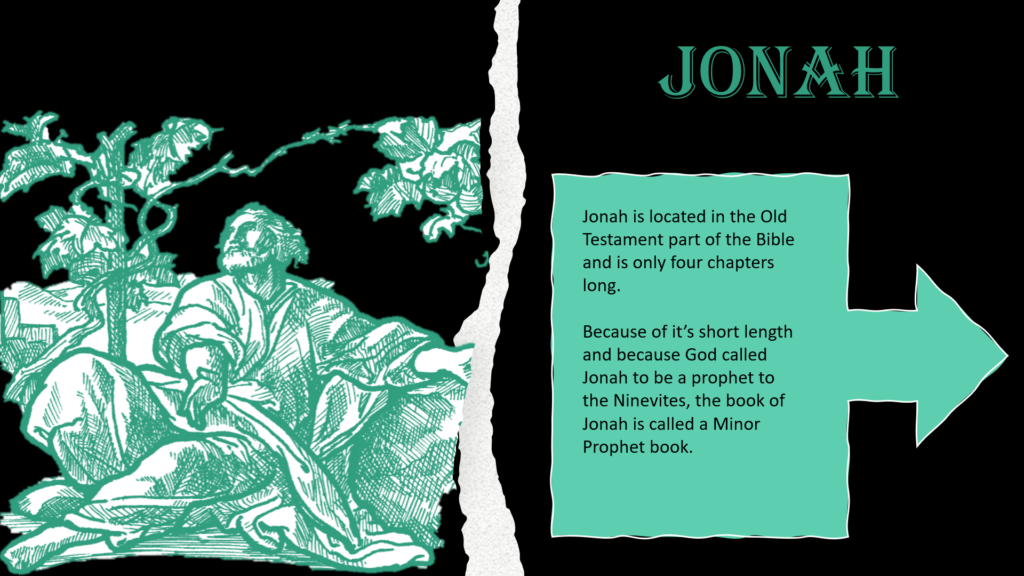
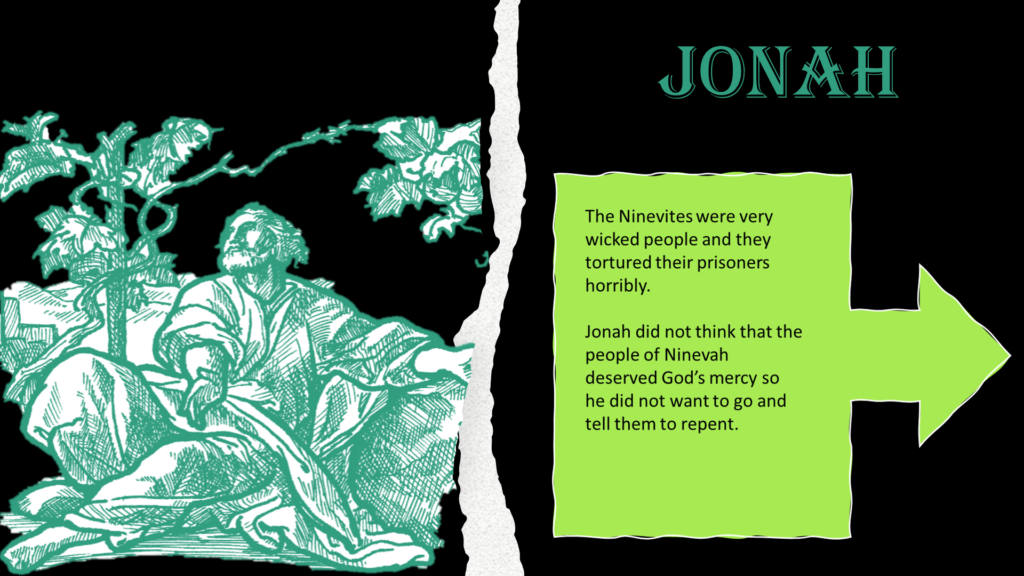
It turned out really nice. She followed the same procedure for Jonah and King Hezekiah. I’ll put her slide pictures below.


Other Ideas to use Home School in the Woods’ Figures
There are plenty of ways to use Home School in the Woods‘ Printable Essential Timeline Library besides just for timelines or PowerPoint slides.
You could create other digital type projects like notebooking pages, lapbook mini books, decorated index cards.
You could use these items to play games, create lapbooks, create subject notebooks of information, make study cards, and so much more.
For grades K-12, there are endless possibilities that you could build upon year after year. Just don’t be like I did. Take plenty of pictures!
Follow Home School in the Woods on Social Media
Facebook: https://www.facebook.com/homeschoolinthewoods
Instagram: https://www.instagram.com/homeschoolinthewoods/
Pinterest: http://pinterest.com/hsinthewoods/
YouTube: https://www.youtube.com/channel/UCrKq6iLty2fpB6R6ZpcUb8A
Read More Reviews About Home School in the Woods Products
Other homeschool bloggers have used and reviewed different products from Home School in the Woods. They are:
Maps Combo-Pak (US & World Maps)
Project Passport World History Studies
Ancient Egypt
Ancient Greece
Ancient Rome
The Middle Ages
Resaissance & Reformation
Time Travelers U.S. History Studies
New World Explorers
Colonial Life
The American Revolution
The Early 19th Century
The Civil War
The Industrial Revolution through the Great Depression
World War II
Hands-on History Lap-Paks
Lap-Pak: Wonders of the World
Lap-Pak: The 20th Century in America
Lap-Pak: U.S. Elections
Lap-Pak: Benjamin Franklin
Lap-Pak: Knights
Hands-on History Activity-Paks
Activity Pak: The Old Testament
Activity Pak: The New Testament
Activity Pak: Make-A-State
Activity Pak: Artists
Activity Pak: Composers
