Does Your Homeschooled Child Need an Identification Card?
This is a hard question, but it’s up to you if you want your child to have an ID card. I will say though it is nice to have.
My daughter was able to use hers to get a library card.
My homeschooled niece was able to use hers when she was flying alone to a different state. The airport personnel recommended she have one since she was flying alone as a minor.
If someone ever questions why your child is not in school, you can always show the student ID.
I would recommend though that you make your child’s picture as professional looking as possible. No one is going to recognize the identification card as a valid school ID if the picture of your child is at home playing with toys. It may be your child’s favorite picture, but, in my opinion, a professional ID should have a professional looking picture. That’s just my opinion though.
Below are the steps for creating your child’s Homeschool Student ID with Microsoft Word. If you would rather “see” the steps completed, just watch the video at the bottom. If you have questions, please put them in the comment section, I’ll be glad to help you out.
Step-by-Step Directions for Creating Your Child’s Homeschool Student Identification Card
- Open Microsoft Word to a Blank Document
- Click on the Insert tab, then the little arrow by the word “shape”
- Insert a rectangle shape: Click and drag on your blank document to draw your shape.
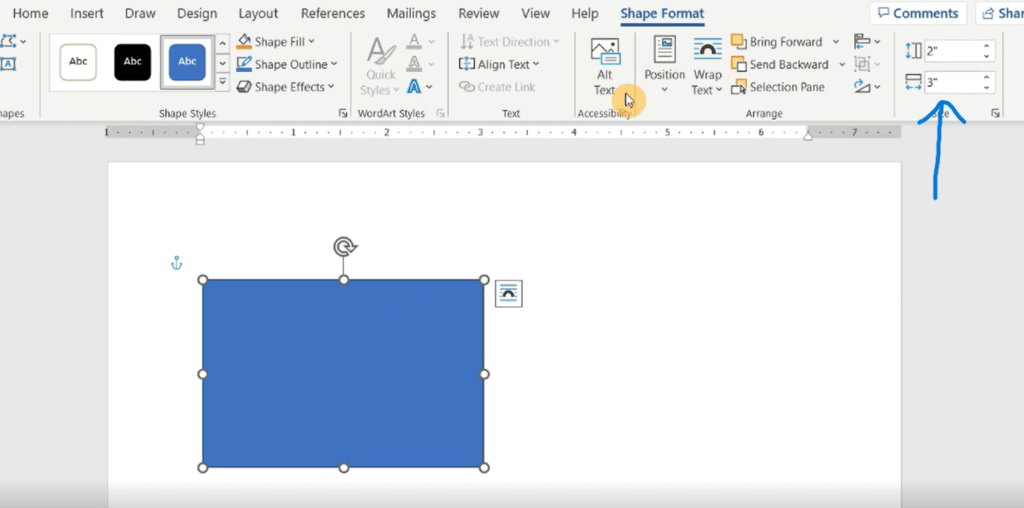
- Click on your rectangle to activate the Shape Format Tab.
- On the right-hand side of the ribbon, change the measurements of the rectangle to 2″ x 3″
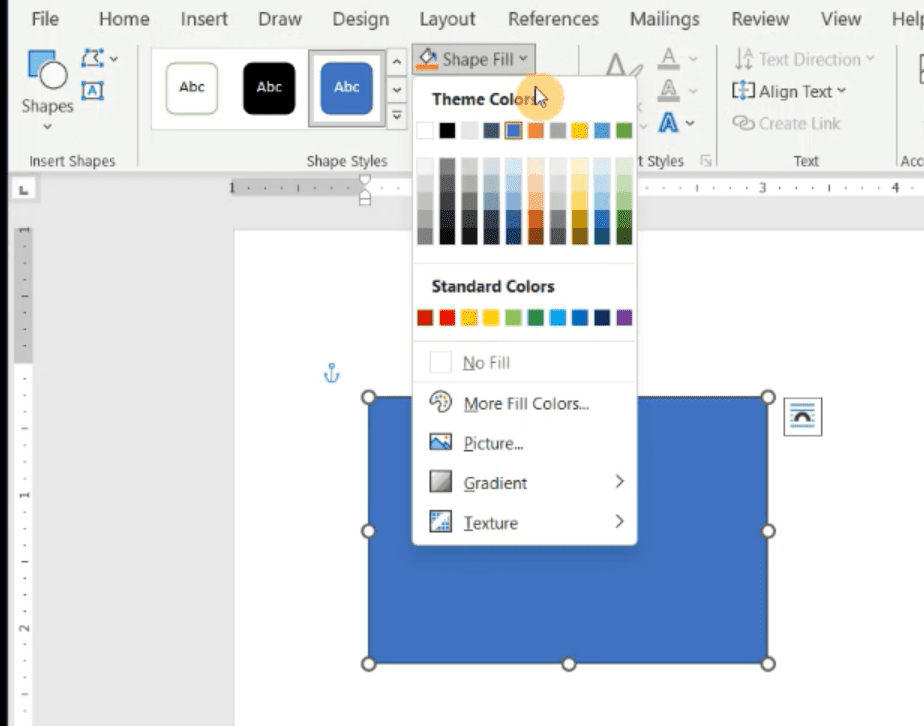
- With your shape activated, click on the arrow next to “Shape Fill”
- Choose your background color
- Click the arrow next to “Shape Outline”
- Choose your outline color
- Click the arrow again next to “Shape “Outline”
- Click on the word, Weight, and choose a thickness
- Click on the Insert Tab
- Toward the right side of the ribbon, click on the arrow next to “Text Box”
- Choose the Simple Text Box from the list.
- Click your backspace key on your keyboard to delete the unwanted text that comes in the text box.
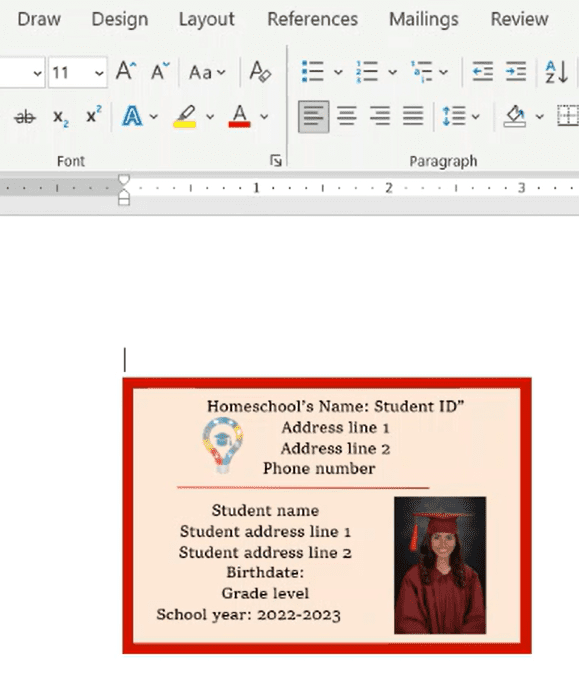
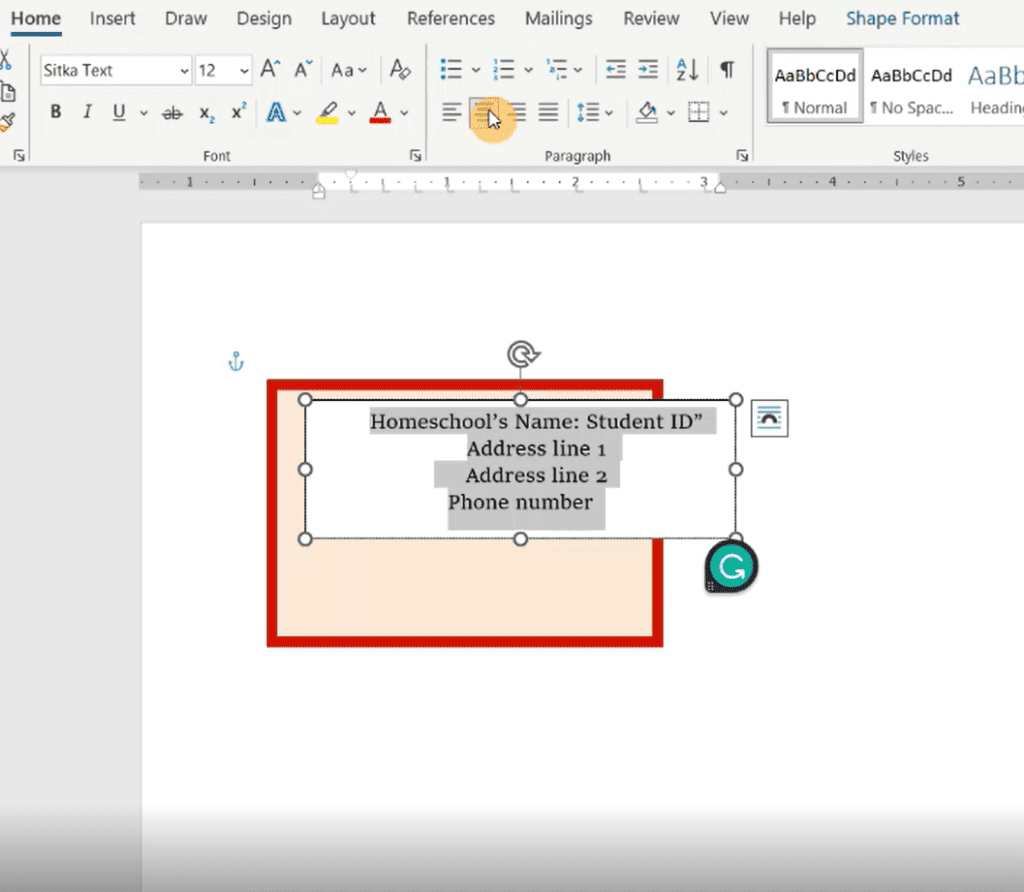
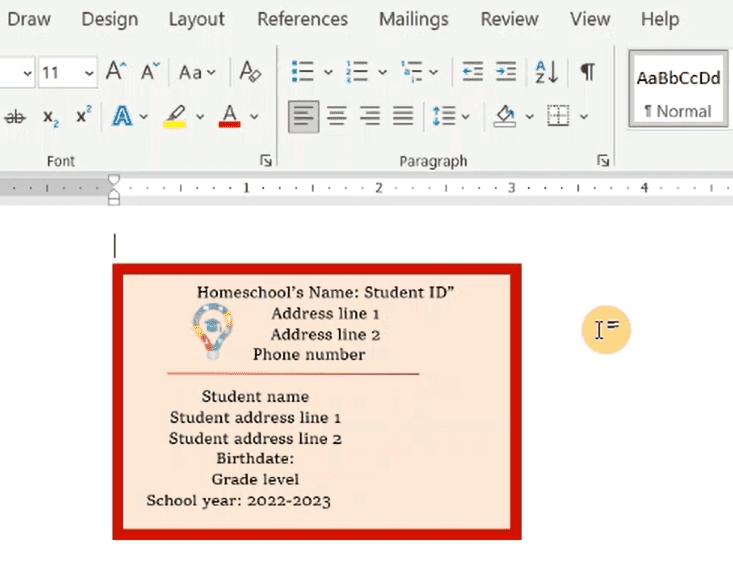
- Click inside of the text box and type in your oversight information
- Name
- Address Line 1
- Address Line 2
- Phone number
- Highlight your text by clicking your cursor at the beginning of your text, hold down the left mouse button and drag the cursor to the end of your text. Then release your mouse button.
- Click on the Home Tab
- Click on the “Center Text” icon in the Paragraph options on the ribbon.
- While the text is highlighted, click on the Home tab
- Click the arrow next to the font size number box. Default is usually around 11, I think.
- Choose the number 9 in the list to decrease your font size.
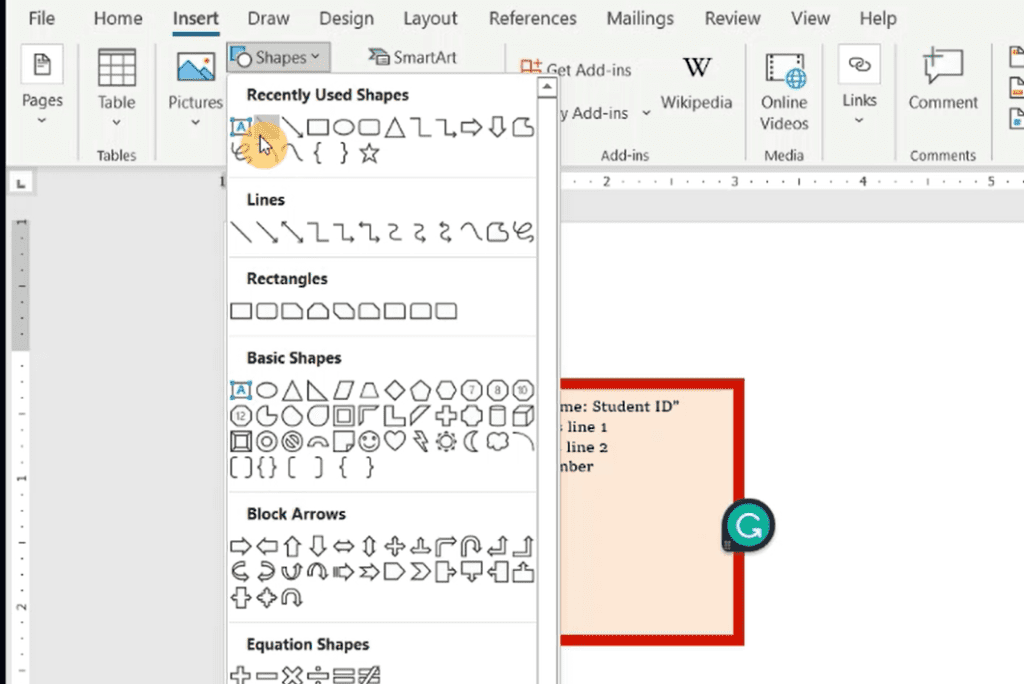
- Click on the Insert tab.
- Click on the arrow next to the word “Shape”
- Choose the straight-line shape
- Click in your document and drag it to the length desired, straighten as needed by clicking on one of the little circles around your line and dragging it to the correct position.
- While your line is activated, click on the arrow next to “Color Outline”
- Change the color if desired
- Follow the directions for the first text box and insert the second text box under the line.
- Type in your student information
- Student name
- Student address line 1
- Student address line 2
- Birthdate
- Grade level
- School year
- Highlight the text, center it and decrease the size to 9.

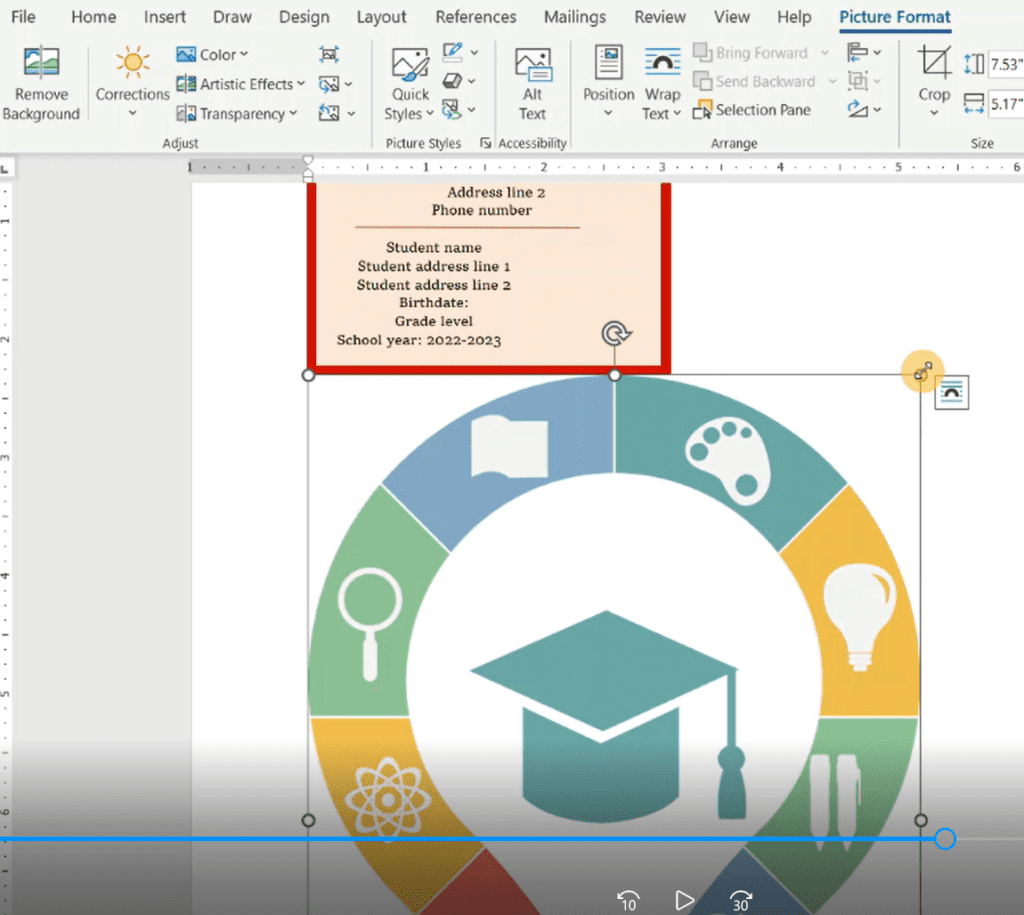
- Click on the Insert Tab
- Click on the arrow under the word Picture
- Choose where your picture is stored then click “open” or “insert”
- Click on any circle around your logo at any of the corners to decrease the size. Click the circle and then drag inward to decrease.
- While the logo is activated click on the white Layout Option box that is beside the logo.
- If you don’t see it, drag your logo to an empty place on your Word document.
- Set the layout option for the picture as “tight”
- To find the correct option, hover your cursor over each little option picture until the icon title appears.
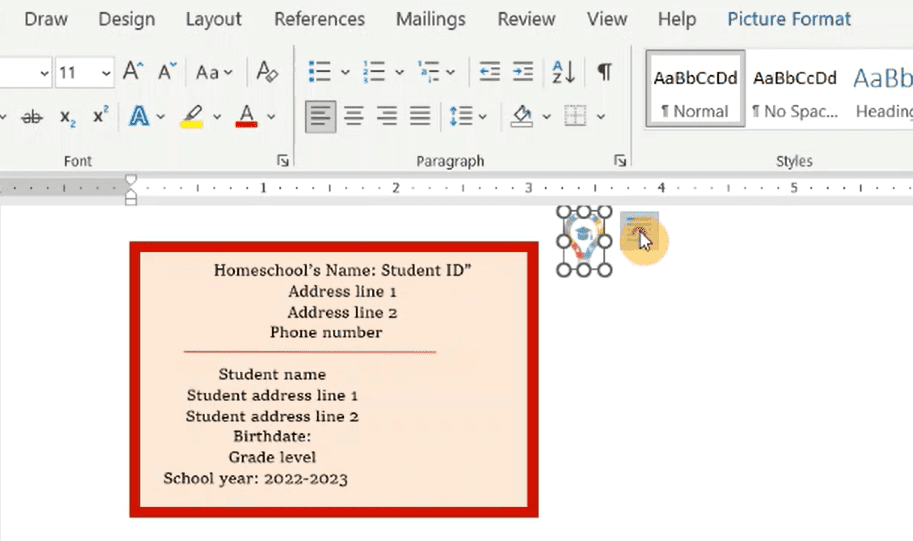
- Put your cursor over your logo till you get a plus sign symbol, and then drag and drop the logo onto your ID card
- Place the logo where you would like it
- Follow the same steps for inserting your student’s picture
- Set the layout option for the picture as “tight”
- Place the picture where you would like it
- Make any adjustments to the elements inside of the rectangle
- Print on cardstock and laminate it
- Congratulations! You’re finished.