

Complimentary product received from the Homeschool Review Crew.
Being part of the Homeschool Review Crew, my daughter and I have had the privilege to do projects in the Art History Program from Creating a Masterpiece.
Creating a Masterpiece is an online art curriculum. Subscriptions can be purchased either monthly or yearly. Special rates for homeschoolers are available for those who contact the company.
Not only does Creating a Masterpiece have an Art History Program, but they also have a Core Program (a beginner level to level five), two levels for Beginning Drawing, and six levels of a more advanced Drawing program.
Many types of mediums are used and taught with your subscription.
- Acrylic
- Balsa Carving
- Batik
- Block Printing
- Colored Marker
- Colored Pencil
- Conte’ Crayon
- Copper Tooling
- Faux Metal Working
- Faux Stained Glass
- Glass Etching
- Glass Mosaic
- Gouache
- Ink
- Mixed Media
- Oil Painting
- Oil Pastel
- Pencil/Charcoal
- Printmaking
- Sculpture
- Silk Painting
- Soft Pastel
- Watercolor
- Watercolor Pencil
- Wood Burning
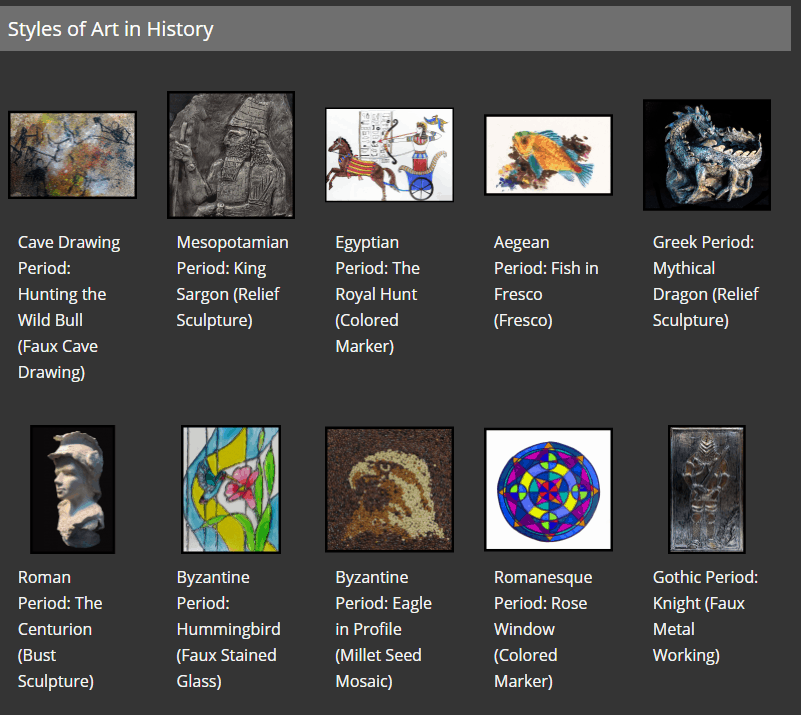
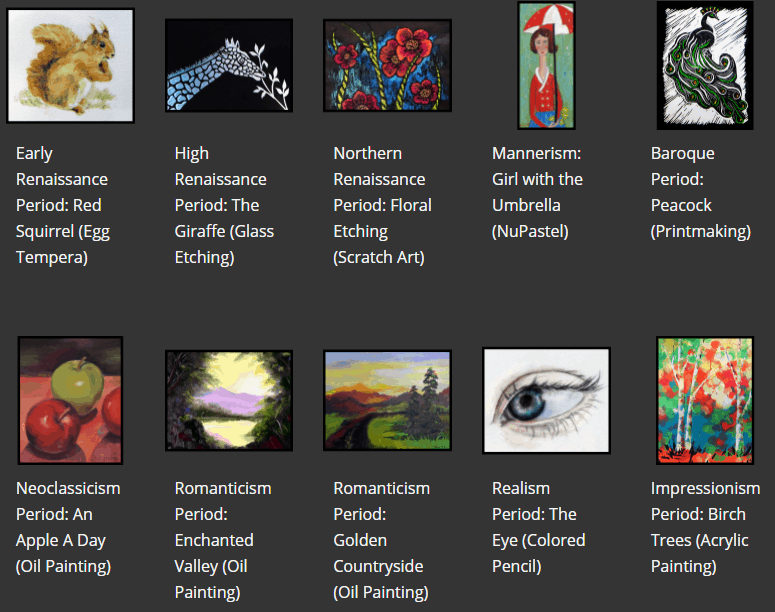
The Art History Program is divided into these categories.
- Styles of Art in History (ages 5 and up)
- Historically Themed Projects (ages 6 and up)
- Exploring the Art of Yesterday (ages 13 and up)
- Capstone Program (for more advanced artists)

For this review, my daughter chose three projects to complete, all of which were in the Styles of Art in History category.
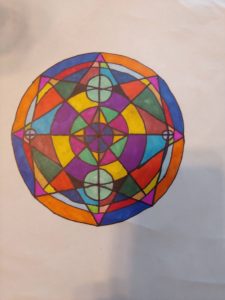
Rose Window Project: The Romanesque Period
For the Rose Window Project, Ms. Sharon showed us some pictures of stained glass windows that were done during this period of time.
Our project was to resemble something similiar to a stained glass window.
The supply list was easy to obtain. Ms. Sharon provides us with a link to an online art store where we can easily purchase the supplies in the list. For this project we needed:

- A set of colored markers
- Drawing paper
- A pencil and eraser
- A fine tip black permanent marker
- A compass
- A protractor
- A t-square
- A triangle
The supply list also gave us information on how much of each supply to order if there was going to be more than one person doing the project. There was no need for me to wonder if there was going to be enough of a supply for two of us doing each project. That made it really nice.
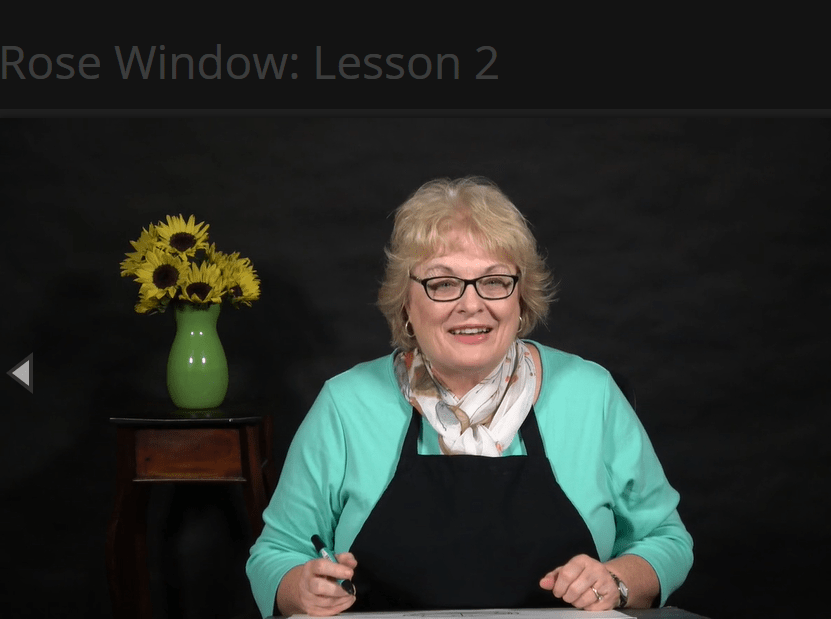
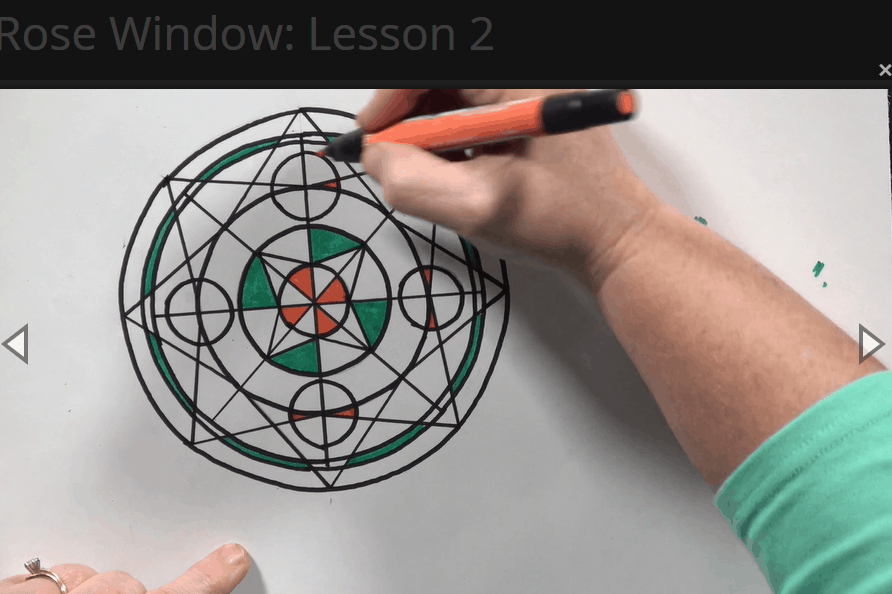
The Rose Window Project consisted of two lessons.
Lesson one had 4 different short videos in it, called sections. These sections were given this way to give a child a break or to let glue or paint dry, if your project used these types of supplies.
Lesson two only had two sections in it.
Ms. Sharon showed us on her paper exactly what to draw. We would pause the video to complete the step and then press play to continue.
We continued this way until our project was complete. Abby’s turned out pretty, don’t you think?
The Eye: Realism Period
For the eye project, we needed different supplies.
- Vellum paper
- Pencil and eraser
- Colored pencils
- specific color names were given in the list, which we were able to purchase easily with the link available.
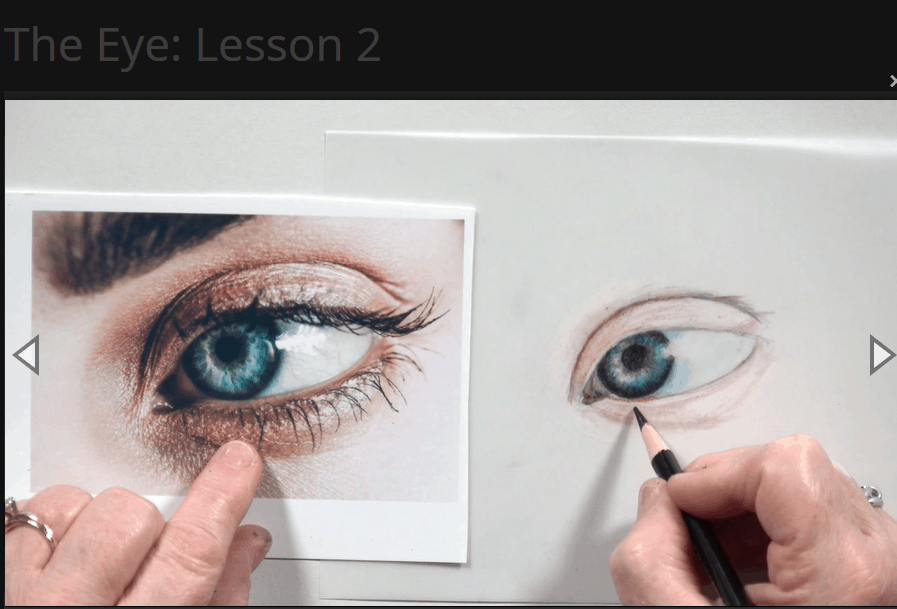
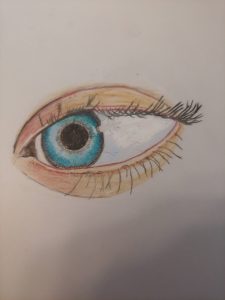
Once again, Ms. Sharon walked us through step by step how to draw a person’s eye and make it look real.
There were more sections with this project, because it was a little bit harder and longer to do.
But with Ms. Sharon’s help, it was easy to do, and it was really fun too. What do you think of Abby’s finished project?
Millet Seed Mosaic of Eagle’s Profile: Byzantine Period
For the Byzantine Period, Ms. Sharon showed us pictures of mosaics done with different types of mediums.
For our mosaic the supply list was as follows:
- Weldbond Glue
- Pointed Tool
- Matboard
- Mod Podge
- A Paintbrush
- White Colored Pencil
- Retractable Pencil Eraser
- Millet Seeds of Light Value, Medium Value, and Darker Value
The official art supplies for this project were very easy to get, but the millet seed was more difficult. We found the light value millet seed on the sticks, so we purchased that.
We rubbed off the light colored seeds and threw away the sticks, but the chaff was left. So then we stood in front of a fan and poured the seeds from one bowl to another to let the chaff blow away. It worked! We had really nice light valued millet seeds.
Next, we were to get the red millet seeds. These were to be roasted on the stove to obtain the middle and dark valued seeds, but we couldn’t find it in a small enough quantity to suit us, so we improvised.
I remembered doing mosaics with different colors and sizes of beans when I was growing up, so I decided to peruse my pantry.
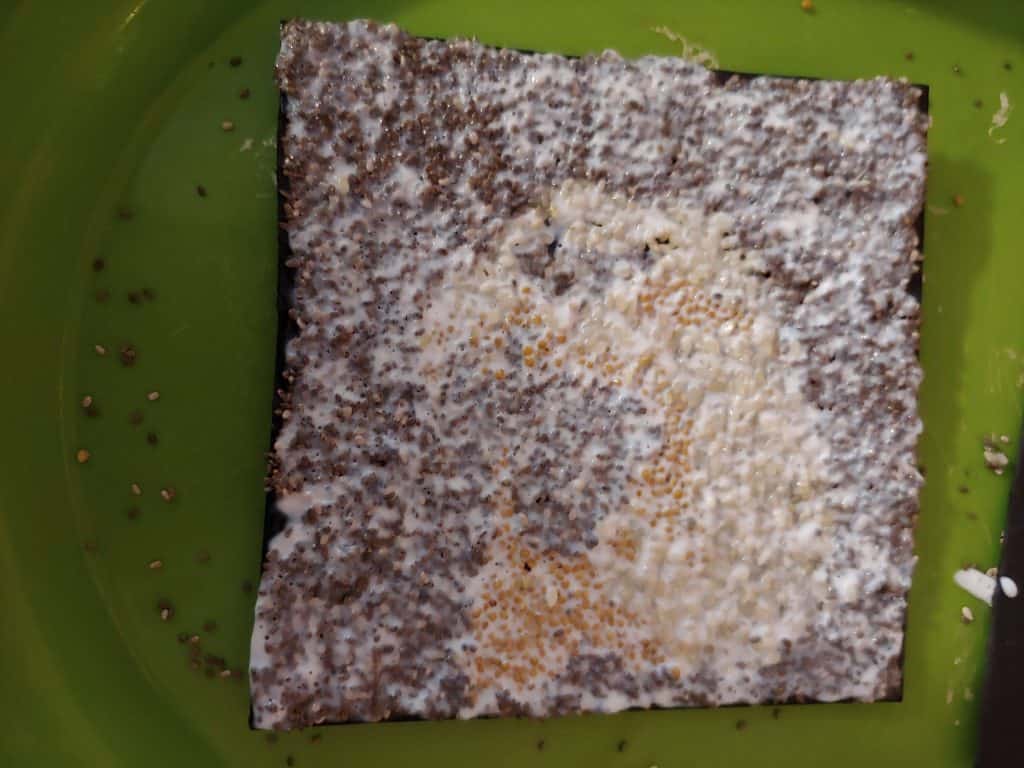
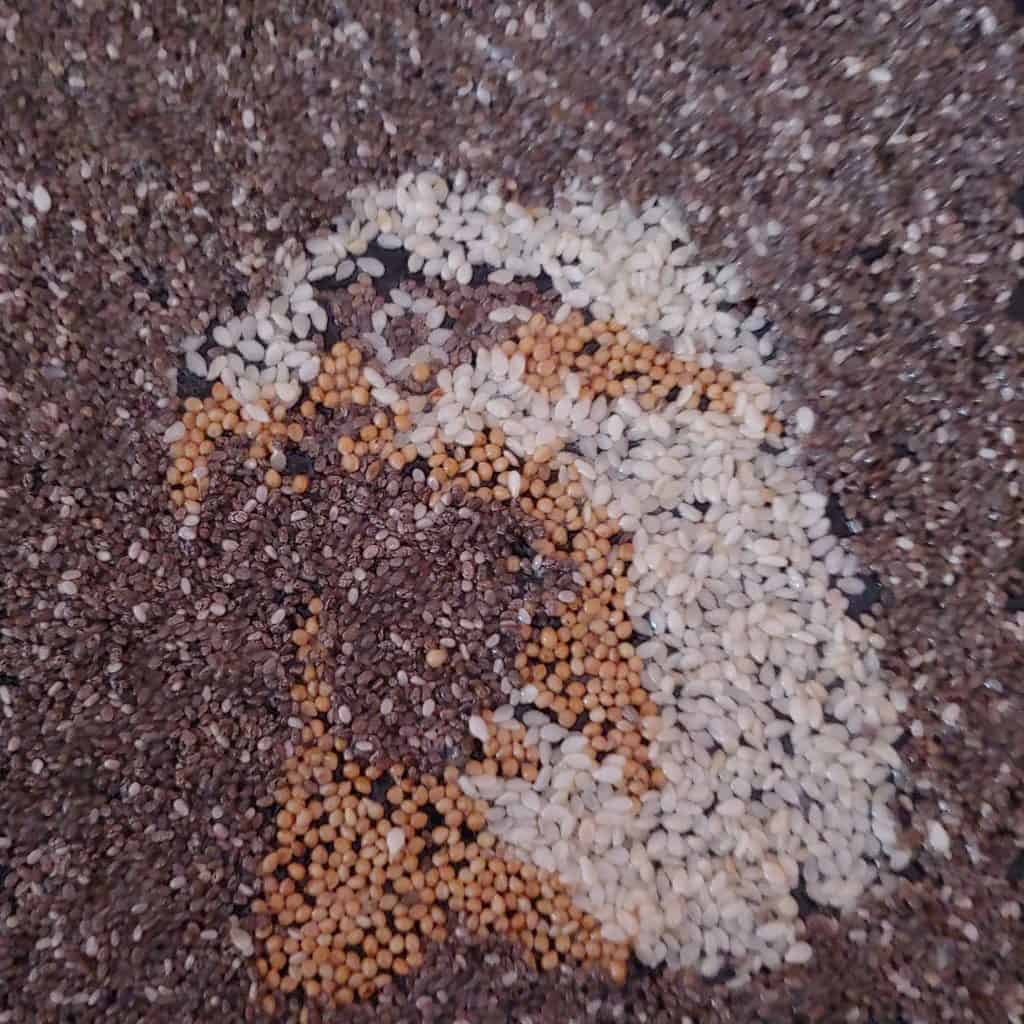
I had a container of chia seeds, which were perfect for the dark valued seeds. Then I found sesame seeds which were perfect for the light value.
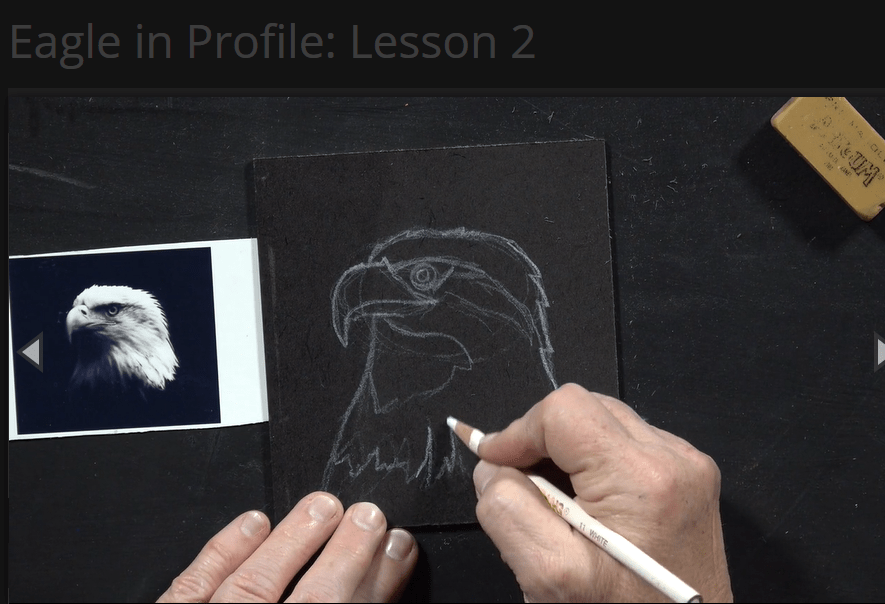
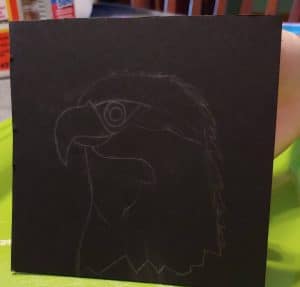
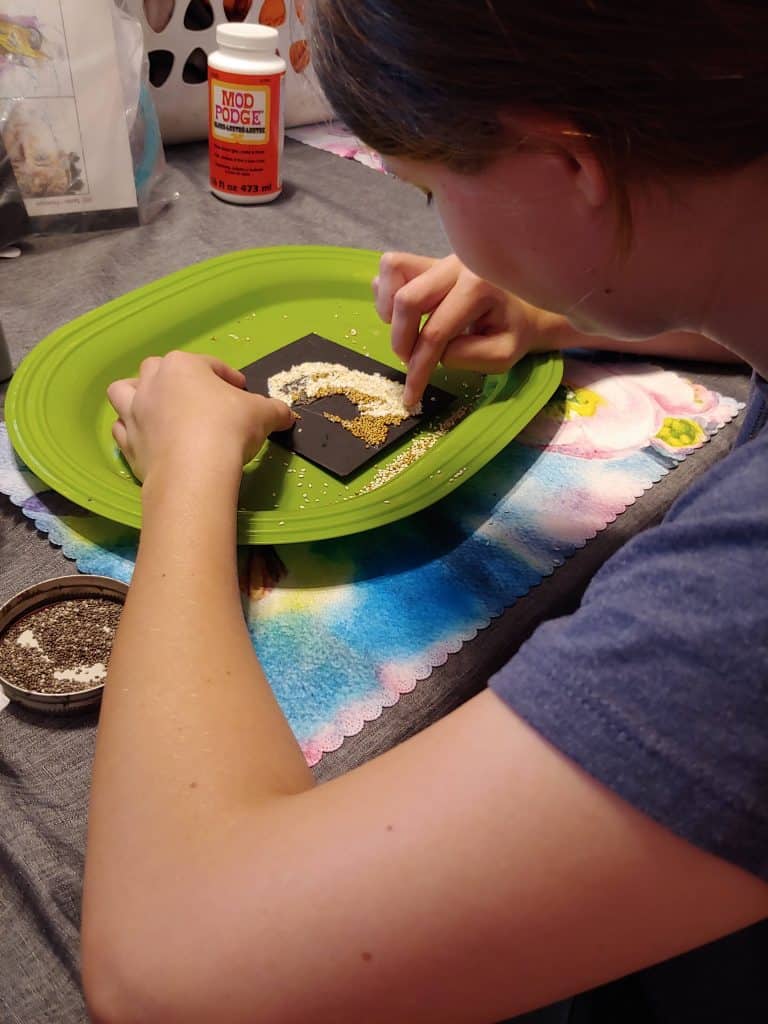
Ms. Sharon helped us draw the eagle’s profile on the black matboard to get started with our project.
This project took a few days between the drawing, placing the small seeds, letting the glue dry, and then painting on the mod podge and letting it dry.
Abby’s drawing turned out really well.
Now it was time to glue the seeds in, let dry, then mod podge and let it dry completely.
Final Thoughts on Creating a Masterpiece’s Art History Program
I loved this program. I was a little worried at first wondering about how much art history “teaching” was involved with the art lessons, but Ms. Sharon just shows examples from the time period being discussed and that’s it.
The Art History Program that is part of Creating a Masterpiece, is to be used as supplemental material to go along with whatever more in-depth art history curriculum that you are using.

The projects do not have to be done in any order, and they don’t all have to be done. You can pick and choose your favorites.
Besides the Art History Program projects, I am anxious to look at the Core and the Drawing lessons that Creating a Masterpiece has to offer. They look really beneficial for any child that enjoys art.
Ms. Sharon does a great job explaining what she is doing and the camera is perfect for capturing her movements as she draws. Using the lesson videos, we really did benefit from being able to pause or even rewind the lesson to see something again.
I would highly recommend the Art History Program to any child that would like to do an art project that corresponds with their other studies.
Follow Creating a Masterpiece on Social Media
Facebook: https://www.facebook.com/createamasterpiece
YouTube: https://www.youtube.com/channel/UCyDU-6301Pwj_1Dez9YkumQ
Read More Reviews
To read more reviews written by the Homeschool Review Crew on this Creating a Masterpiece: Art History Program, just click on the banner below.